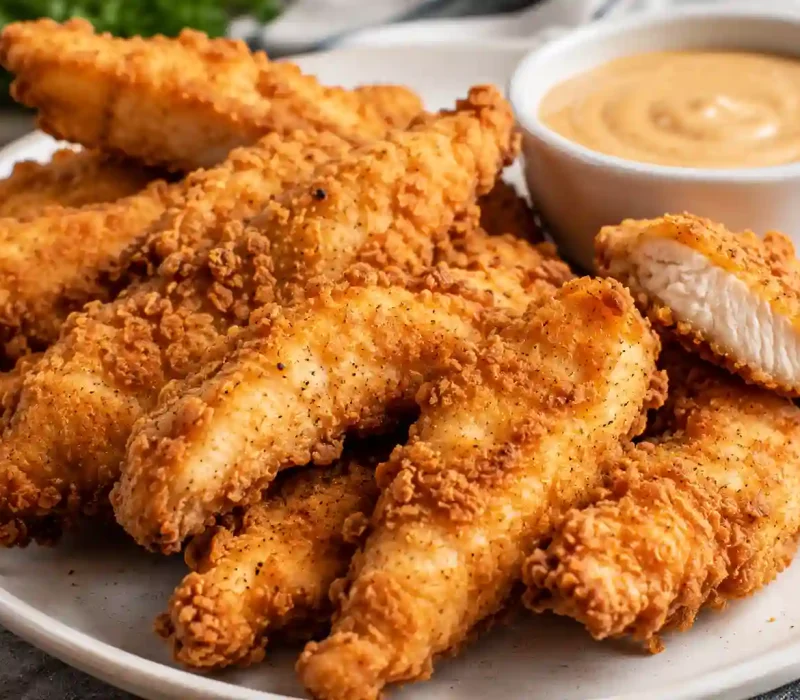
Some dinners need to satisfy the whole table at oncekids who won’t touch anything with a sauce, adults who want something that actually tastes like it took effort, and whoever’s in charge of getting it all done in under 30 minutes. This chicken tenders recipe checks every one of those boxes. Juicy chicken tenderloins get a simple threestep coating, then panfry into a golden, crunchy crust that holds up on its own or dunked in whatever sauce is closest at hand.
I’ve made a lot of versions of this over the years, and the one detail that consistently separates a good batch from a great one is patience in two specific spots: letting the coated chicken rest for a few minutes before it hits the oil, and not crowding the pan once it does. Skip either step and you’ll still have dinnerjust not the crackling, stayscrispevenafterdipping kind.
Why You’ll Love This Recipe
- Ready in about 25–30 minutes. Fast enough for a weeknight, no marinating required.
- Crispy outside, juicy inside. A simple floureggbreadcrumb coating locks in moisture while frying up genuinely crunchy.
- Fry, bake, or airfry. One recipe, three cooking methods, depending on what you’re in the mood for.
- A genuine crowdpleaser. Mild, familiar flavor that works for picky eaters and adults alike.
- Great for more than dinner. Gameday snacking, packed lunches, or a quick appetizer platter.
What Are Chicken Tenders?
Chicken tendersalso called chicken strips or chicken fingerscome from the tenderloin, a small, naturally tender strip of muscle attached to the underside of the chicken breast. It’s a genuinely different cut than a breast sliced into strips, not just a marketing namethe tenderloin has a looser muscle structure that stays more tender than breast meat, which is exactly why it cooks fast and doesn’t dry out as easily. If you can’t find tenderloins at your store, sliced chicken breast strips make a perfectly good substitutethey’ll just need slightly more attention to avoid overcooking, since breast meat is a bit less forgiving.
Breaded, fried chicken strips became a fixture of American fast food and casual dining menus starting in the late 1970s and through the 1980s, as restaurants looked for a boneless, easytoeat alternative to fried chicken pieces on the bone. The format caught on quickly with kids especially, thanks to how easy it was to eat with hands and dip into sauce, and it’s stayed a nearuniversal comfort food on restaurant and home menus ever since.
Ingredient Breakdown
- Chicken tenderloinsNaturally tender and quickcooking, tenderloins are the classic choice. If using chicken breast instead, slice it into even strips of similar size so everything cooks at the same rate.
- Allpurpose flourForms the base layer of the coating and gives the egg wash something to grip onto. Season it directly rather than relying on the breadcrumbs alone to carry flavor.
- EggsAct as the binding layer between the flour and the breadcrumbs, helping the final coating stick rather than flake off during cooking.
- Breadcrumbs or pankoThis is where the crunch comes from. Panko, with its larger, airier flakes, produces a noticeably crispier crust than standard fine breadcrumbs, though both work well.
- Seasonings (salt, pepper, garlic powder, paprika, onion powder)A simple, balanced blend that flavors the chicken without masking it. Smoked paprika adds a little extra depth if you want it.
- Neutral oil for fryingVegetable or canola oil are good choices, since their high smoke point and neutral flavor let the chicken and seasoning take center stage.
- Optional buttermilk marinadeNot required, but soaking the tenderloins in buttermilk with a little salt and cayenne for 30 minutes to a few hours beforehand adds extra tenderness and a subtle tang that plays well against the crispy coating.
Equipment Needed
- Three shallow bowls or dishesFor the flour, egg, and breadcrumb breading station.
- Large skilletA heavybottomed skillet holds heat more evenly, which helps the coating brown consistently.
- TongsMakes turning delicate, breaded tenders much easier than a fork or spatula.
- Wire rack set over a baking sheetFor resting the breaded chicken before frying and draining it afterward, which keeps the bottom crust from turning soggy.
- Instantread thermometerTakes the guesswork out of knowing when the chicken is fully cooked.
StepbyStep Instructions
1. Pat the chicken dry. Pat the tenderloins dry with paper towels. This matters more than it sounds like it shouldany extra surface moisture prevents the flour from sticking properly, leading to a patchy, uneven coating.
2. Set up the breading station. Prepare three shallow bowls: one with flour mixed with salt, pepper, garlic powder, paprika, and onion powderone with beaten eggsand one with breadcrumbs or panko.
3. Coat the chicken. Dip each tenderloin into the seasoned flour, shaking off the excess, then into the egg, letting it drip slightly, and finally into the breadcrumbs, pressing gently so the coating adheres well on all sides.
4. Let the coating rest. Place the breaded tenders on a wire rack for 10–15 minutes before cooking. This short rest lets the coating set and bond to the chicken, which is the single biggest factor in whether it stays intact once it hits the oil.
5. Heat the oil. Heat about ¼ inch of oil in a large skillet over medium heat until it shimmersaround 350°F if you’re using a thermometer. Test with a small pinch of breadcrumbsthey should sizzle steadily, not violently.
6. Fry in batches. Add the tenders to the skillet without crowding them, leaving space between pieces so they crisp instead of steaming each other. Cook 3–4 minutes per side, until deep golden brown and cooked through.
7. Drain and rest briefly. Transfer the cooked tenders to a wire rack (rather than a papertowellined plate, which traps steam and softens the bottom) and let them rest for a minute before serving.
Expert Tips for Best Results
- Pat the chicken thoroughly dry before breadingwet chicken is the most common reason coatings turn patchy or slide off.
- Rest the breaded chicken on a rack before fryingit’s a small step with a big payoff in how well the crust holds together.
- Keep the oil at a steady, moderate temperature. Too hot and the outside burns before the inside cookstoo cool and the coating turns greasy instead of crisp.
- Fry in batches rather than crowding the panovercrowding drops the oil temperature and leads to soggy, unevenly cooked chicken.
Common Mistakes to Avoid
- Skipping the patdry step. Leftover surface moisture is the top reason coatings don’t stick evenly.
- Frying at too low a temperature. Oil that isn’t hot enough soaks into the coating instead of crisping it, leaving you with a greasy crust.
- Overcrowding the pan. Too many pieces at once drops the oil’s temperature and steams the chicken instead of frying it properly.
- Overcooking. Tenderloins cook fasta few extra minutes past done dries them out quickly since they have very little fat to buffer against it.
- Draining on paper towels instead of a rack. Paper towels trap steam underneath the chicken, softening the bottom crust you just worked to create.
Variations and Customizations
- Baked version: Place breaded tenders on a lined baking sheet and bake at 400°F for 18–22 minutes, flipping halfway, for a lighter version with less oil.
- Air fryer version: Air fry at 375°F for 10–12 minutes, turning once, for a similarly crisp result with minimal oil.
- Buttermilk marinade: Soak tenderloins in buttermilk with a little salt and cayenne for 30 minutes to a few hours before breading for extra tenderness and tang.
- Spicy version: Add cayenne pepper to the flour mixture, or toss the finished tenders in hot sauce and melted butter for a Buffalostyle finish.
- Glutenfree: Swap the flour for a 1:1 glutenfree blend and use glutenfree breadcrumbs or crushed glutenfree crackers.
Best Dipping Sauces for Chicken Tenders
- Honey mustard
- Ranch dressing
- Barbecue sauce
- Classic ketchup
- Garlic aioli
Mix and match a few for a dipping sauce platter if you’re serving these for a group or game day.
Storage Instructions
- Refrigerator: Store leftover tenders in an airtight container for up to 3 days.
- Freezer (cooked or uncooked): Freeze in a single layer on a tray until solid, then transfer to a freezersafe bag for up to 2 months.
- Meal prep tip: Bread the chicken up to 24 hours in advance and store covered in the refrigerator, then cook whenever you’re ready.
Reheating Instructions
- Oven (best method): Reheat at 375°F for about 10 minutes, or until warmed through and crisp again.
- Air fryer: Reheat at 375°F for 5–6 minutes, which restores crispiness especially well.
- Avoid the microwave if possible. It tends to make the coating soggy rather than crisp, though it works in a pinch if speed matters more than texture.
Frequently Asked Questions
Can I make these ahead of time?
Yes. Bread the chicken in advance and store it covered in the fridge for up to 24 hours before cooking, which also gives the coating time to set.
Can I freeze chicken tenders?
Yes. Freeze them cooked or uncooked in a single layer on a tray, then transfer to a freezer safe bag once solid. They keep well for up to 2 months.
How do I know when chicken tenders are done?
Chicken tenders are fully cooked when they reach an internal temperature of 165°F and show no pink in the center when sliced open. A thermometer is more reliable than judging by color alone.
What’s the difference between chicken tenders and chicken strips made from breast meat?
Chicken tenders come specifically from the tenderloin, a naturally tender strip of muscle on the underside of the breast, while chicken strips are usually just sliced chicken breast. Tenderloins are generally more tender and slightly more forgiving if overcooked.
Can I bake chicken tenders instead of frying them?
Yes. Bake breaded tenders on a lined baking sheet at 400°F for 18–22 minutes, flipping halfway through, for a lighter version that still turns out golden and crisp.
Why did my breading fall off during frying?
This usually happens when the chicken wasn’t dried thoroughly before breading, or the coated chicken went straight into the oil without resting first. A quick 10–15 minute rest on a wire rack helps the coating bond properly.
Can I use a buttermilk marinade for extra flavor?
Yes. Soaking the tenderloins in buttermilk with a little salt and cayenne for 30 minutes to a few hours before breading adds extra tenderness and a subtle tang, though it’s an optional step, not a required one.
A Few Honest Final Thoughts
There’s nothing complicated about a good chicken tender it’s really just about patience in the right two spots: drying the chicken well and letting the coating rest before it hits the oil. Do those two things and you’ll have a batch that’s crisp all the way through the last bite, no matter what you’re dipping it in. Give it a try this week it’s the kind of dinner that disappears fast at any table.
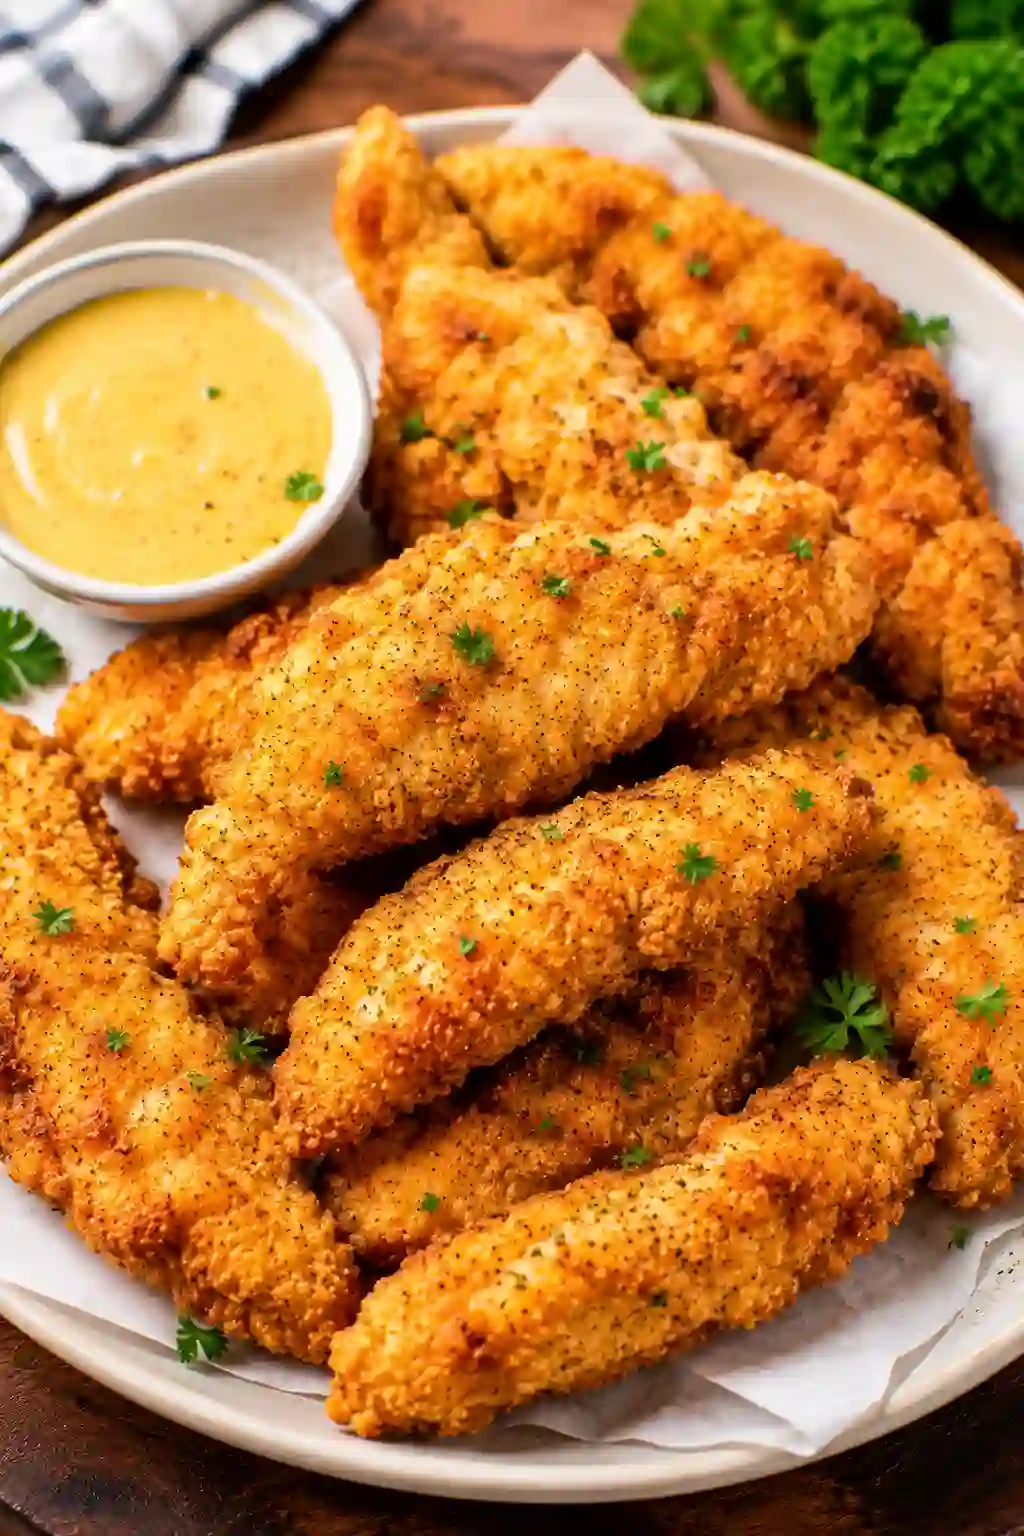
Quick & Easy Chicken Tenders
Notes
Ingredients
- 1 ½ lbs chicken tenderloins
- ¾ cup all purpose flour
- 1 teaspoon salt
- ½ teaspoon black pepper
- 1 teaspoon garlic powder
- 1 teaspoon paprika
- ½ teaspoon onion powder
- 2 large eggs, beaten
- 1 cup breadcrumbs or panko
- ½ cup vegetable or canola oil, for frying
- Fresh parsley, chopped, for garnish (optional)
Instructions
- Pat chicken tenderloins dry with paper towels.
- Set up three shallow bowls: seasoned flour (mixed with salt, pepper, garlic powder, paprika, and onion powder), beaten eggs, and breadcrumbs.
- Dip each tenderloin in flour, then egg, then breadcrumbs, pressing gently to coat evenly.
- Rest breaded tenders on a wire rack for 10–15 minutes.
- Heat oil in a large skillet over medium heat until shimmering (about 350°F).
- Fry tenders in batches, without crowding, 3–4 minutes per side, until golden brown and internal temperature reaches 165°F.
- Drain on a wire rack, rest briefly, and garnish with parsley if desired.
Notes
- Rest the breaded chicken before fryingit’s the key to a coating that stays put.
- Fry in batches to keep the oil temperature steady.
- For a lighter version, bake at 400°F for 18–22 minutes or airfry at 375°F for 10–12 minutes.
Storage
- Fridge: Airtight container, up to 3 days.
- Freezer: Cooked or uncooked, frozen in a single layer then bagged, up to 2 months.
- Reheat: Oven at 375°F for about 10 minutes, or air fryer at 375°F for 5–6 minutes. Avoid the microwave if possible, since it softens the crust.