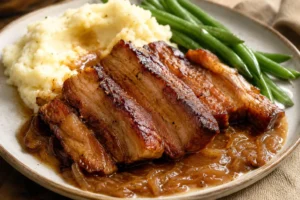
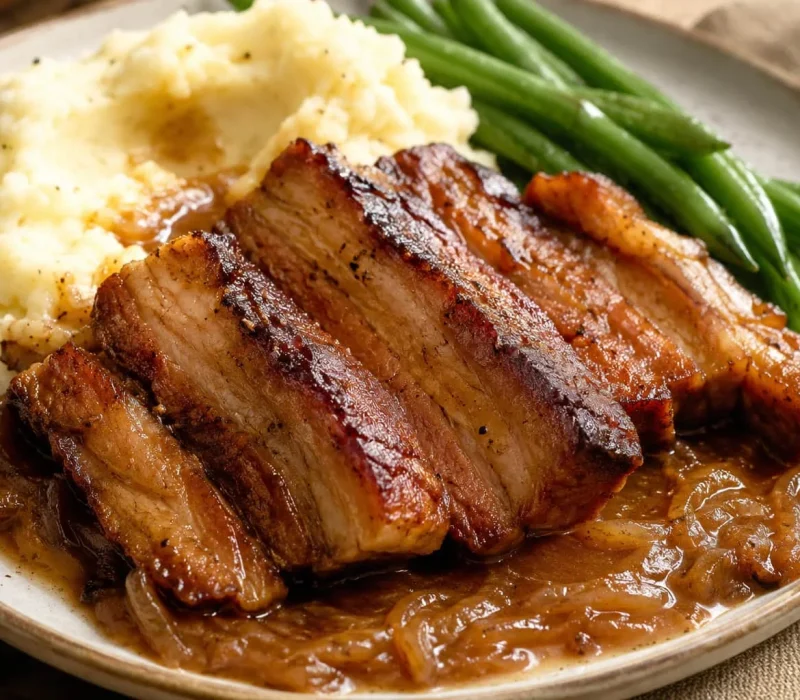
Slow cooker pork belly simmers over onions until fork-tender, then finishes under a broiler for browned, crisped edges.
This is a genuinely hands off way to turn an inexpensive, fatty cut into a proper sit-down dinner. The slow cooker does the heavy lifting, softening the pork’s fat and connective tissue over several hours, while a quick pass under the broiler at the end adds the color and crisp edges a covered cooker can’t give you on its own. Finish it with a rich onion gravy made from the defatted cooking juices, and it’s a full plate with almost no active cooking time.
KEY TAKEAWAYS
- Keep the pork above the liquid, not submerged in it, pork belly releases plenty of its own fat and moisture, and too much added stock just dilutes the flavor
- A slow cooker traps steam and can’t brown anything on its own, a few minutes under a hot broiler afterward is what actually creates the crisped, browned edges
- Low and slow (6 to 7 hours) gives more even results than high heat, the wider window between tender and overcooked makes it more forgiving
- Reaching 145°F doesn’t mean the pork is ready, that’s the food-safety minimum, but pork belly needs to go well past that, until it’s genuinely fork-tender, for the fat and connective tissue to soften properly
- Skim the fat from the cooking juices before making the gravy, letting it settle for a few minutes and spooning it off makes a real difference in the final texture
A Short History of Slow Cooked Pork Belly
The idea of transforming pork belly through long, slow, moist cooking isn’t unique to any one kitchen, it’s one of the most widespread techniques in the world for this particular cut. Wikipedia’s entry on red braised pork belly, a classic Chinese dish known as hóngshāoròu, describes exactly the transformation this recipe relies on: a melt-in-the-mouth texture that develops through a long braising process, during which the liquid reduces and thickens into a rich sauce.
The same basic principle shows up across the world under different names, red braised pork belly in China, rafute in Okinawa, dongpo pork, all built on the same idea that fatty, well-marbled cuts need time and moisture, not high heat, to become tender. This slow cooker version, finished with a Western style onion gravy instead of soy and star anise, is really just that same universal technique adapted to a different pantry.
Why This Recipe Works
Two things make this recipe reliable. First, keeping the liquid level low. Pork belly renders a substantial amount of its own fat and moisture as it cooks, so pouring stock around the onions rather than over the meat keeps the pork from stewing in excess liquid, which would dilute the seasoning and leave the surface too wet to brown later.
Second, the two stage cooking approach. A slow cooker’s sealed lid traps steam, which is exactly what makes the meat tender, but that same trapped moisture means it physically can’t develop browning or crisp edges on its own. The finish under a hot broiler, after the surface has been dried off, is what actually creates that contrast between a tender interior and a browned, slightly crisp exterior.
Ingredient Notes for Slow Cooker Pork Belly
Pork belly: Boneless, skinless strips, about 1½ to 2 inches wide, are the easiest to work with, they cook evenly and are simple to brown afterward. Look for a slab with visible ribbons of meat running through the fat, not one big block of fat with little meat.
Onions and garlic: These form the base the pork cooks over and become the foundation of the gravy once the fat is skimmed off.
Stock: Use just enough to keep the onions moist, not enough to submerge the pork. Low-sodium is worth choosing since the gravy concentrates as it reduces.
Cornstarch: This thickens the gravy at the end. Mix it with cold water first into a smooth slurry, adding it directly to hot liquid causes lumps.
How to Make Slow Cooker Pork Belly
Step 1: Prep the pork. Pat the pork belly dry and cut into evenly sized strips, about 1½ to 2 inches wide. Season on every side with salt, pepper, paprika, garlic powder, onion powder, and thyme.
Step 2: Build the base. Spread the sliced onions across the bottom of the slow cooker and scatter the garlic over them. Pour the stock around the onions, not directly over the pork.
Step 3: Arrange and cook. Place the seasoned pork strips in a single layer over the onions. Cover and cook on low for 6 to 7 hours, or high for about 4 hours, checking for tenderness near the lower end of that range.
Step 4: Check doneness. A fork should slide into the thickest part with little resistance, and the fat should feel soft, not firm or rubbery. If it still resists, cover and continue in 20 to 30 minute intervals.
Step 5: Rest and dry. Transfer the pork to a foil-lined baking sheet, supporting each piece from underneath. Let it rest 5 to 10 minutes, then blot the surface dry with paper towels, this step matters, a wet surface won’t brown.
Step 6: Broil. Broil in short 1 to 2 minute bursts, watching closely, until the surface is deeply browned and lightly crisped, usually 3 to 8 minutes total depending on your broiler.
Step 7: Make the gravy. Let the cooking juices settle for a few minutes so the fat rises to the top, then skim most of it off with a spoon. Simmer the remaining onions and juices in a saucepan, then whisk in the cornstarch slurry gradually until it coats the back of a spoon.
Common Problems and Fixes
| Problem | Likely Cause | Fix |
| Pork is still tough | Not cooked long enough for the fat and connective tissue to soften | Continue cooking in 20 to 30 minute intervals; a fork should slide in with little resistance |
| Pork won’t brown under the broiler | Surface wasn’t dried before broiling | Blot thoroughly with paper towels, wet pork steams instead of browning |
| Pork fell apart when lifted | Overcooked, or lifted without support | Support each piece with a wide spatula, not tongs alone, and check for doneness a little earlier next time |
| Gravy is greasy | Fat wasn’t skimmed before reducing | Let the juices settle and spoon off the fat, or use a fat separator, before making the gravy |
| Gravy is too thin | Not reduced enough, or slurry added too fast | Simmer to reduce first, then add the cornstarch slurry gradually, letting it thicken between additions |
Storage and Food Safety
Whole cuts of pork, including pork belly, are safe once they reach 145°F with a 3-minute rest, according to USDA’s safe minimum internal temperature chart. That said, hitting 145°F is a food-safety minimum, not a doneness cue for this particular cut, pork belly’s fat and connective tissue need much longer than that to actually soften into something fork-tender, so rely on texture, not the thermometer alone, to know when it’s ready to eat.
Refrigerate leftovers within 2 hours in a shallow container, and use within 3 to 4 days; store the gravy separately so it doesn’t soften the browned surface. Cooked pork belly freezes well for about 3 months. Reheat to 165°F, covered, in a 350°F oven, uncovered near the end to re-crisp the surface under the broiler. Always thaw frozen pork in the refrigerator, never place it frozen directly into a slow cooker, since it won’t reach a safe temperature quickly enough.
Variations to Try
- Apple and herb: Add sliced apple and a little Dijon mustard, swapping part of the stock for apple cider
- Smoky barbecue: Add smoked paprika to the seasoning and brush with barbecue sauce just before broiling, watching closely since the sugar can burn fast
- Soy and ginger: Swap part of the stock for soy sauce, add fresh ginger, and finish with a light soy-ginger sauce instead of the onion gravy
If you like the idea of a rich, slow-cooked cut of meat with a savory gravy, the same basic approach works well with other cuts too, low, slow, and finished with pan juices turned into a sauce.
Serving Suggestions
Pair the rich pork and gravy with something to soak it up and something fresh to cut through the fat. Our Honey Mustard Roasted Potatoes make an easy starch pairing, while a crisp Cucumber Salad adds the acidity this dish needs. Garlic Parmesan Roasted Asparagus rounds it out as a simple green vegetable side.
Frequently Asked Questions
Does pork belly need to be submerged in liquid in the slow cooker?
No, keep it above most of the liquid. Pork belly releases plenty of its own fat and moisture, and too much added stock dilutes the flavor and leaves the surface too wet to brown afterward.
Should I cook pork belly on low or high?
Low is generally better. It gives the thick fat layers more time to soften gradually and offers a wider window between tender and overcooked than the high setting does.
How do I get crispy edges from a slow cooker?
You can’t, directly, a covered slow cooker traps steam and won’t brown anything. Dry the cooked pork thoroughly, then broil it in short bursts until the surface is browned and lightly crisped.
Can I put frozen pork belly straight into the slow cooker?
No, thaw it completely in the refrigerator first. Frozen meat takes too long to reach a safe temperature in a slow cooker, which can leave it in an unsafe temperature range for too long.
Why is my gravy greasy?
The fat wasn’t skimmed before reducing. Let the cooking juices settle for a few minutes so the fat rises, then spoon it off (or use a fat separator) before making the gravy.
Can I prepare this the night before?
Yes, cut and season the pork and prep the onions and garlic ahead, storing everything separately in the fridge. Assemble and start cooking the next day rather than letting it sit assembled overnight.
Conclusion
The whole recipe rests on two ideas: let the pork cook low and slow above the liquid until it’s genuinely fork tender, not just food safety safe, and don’t expect the slow cooker to brown anything on its own, that’s what the broiler is for. Once those two pieces click, this turns a cheap, fatty cut into something that eats like a proper Sunday dinner with barely any hands-on effort.
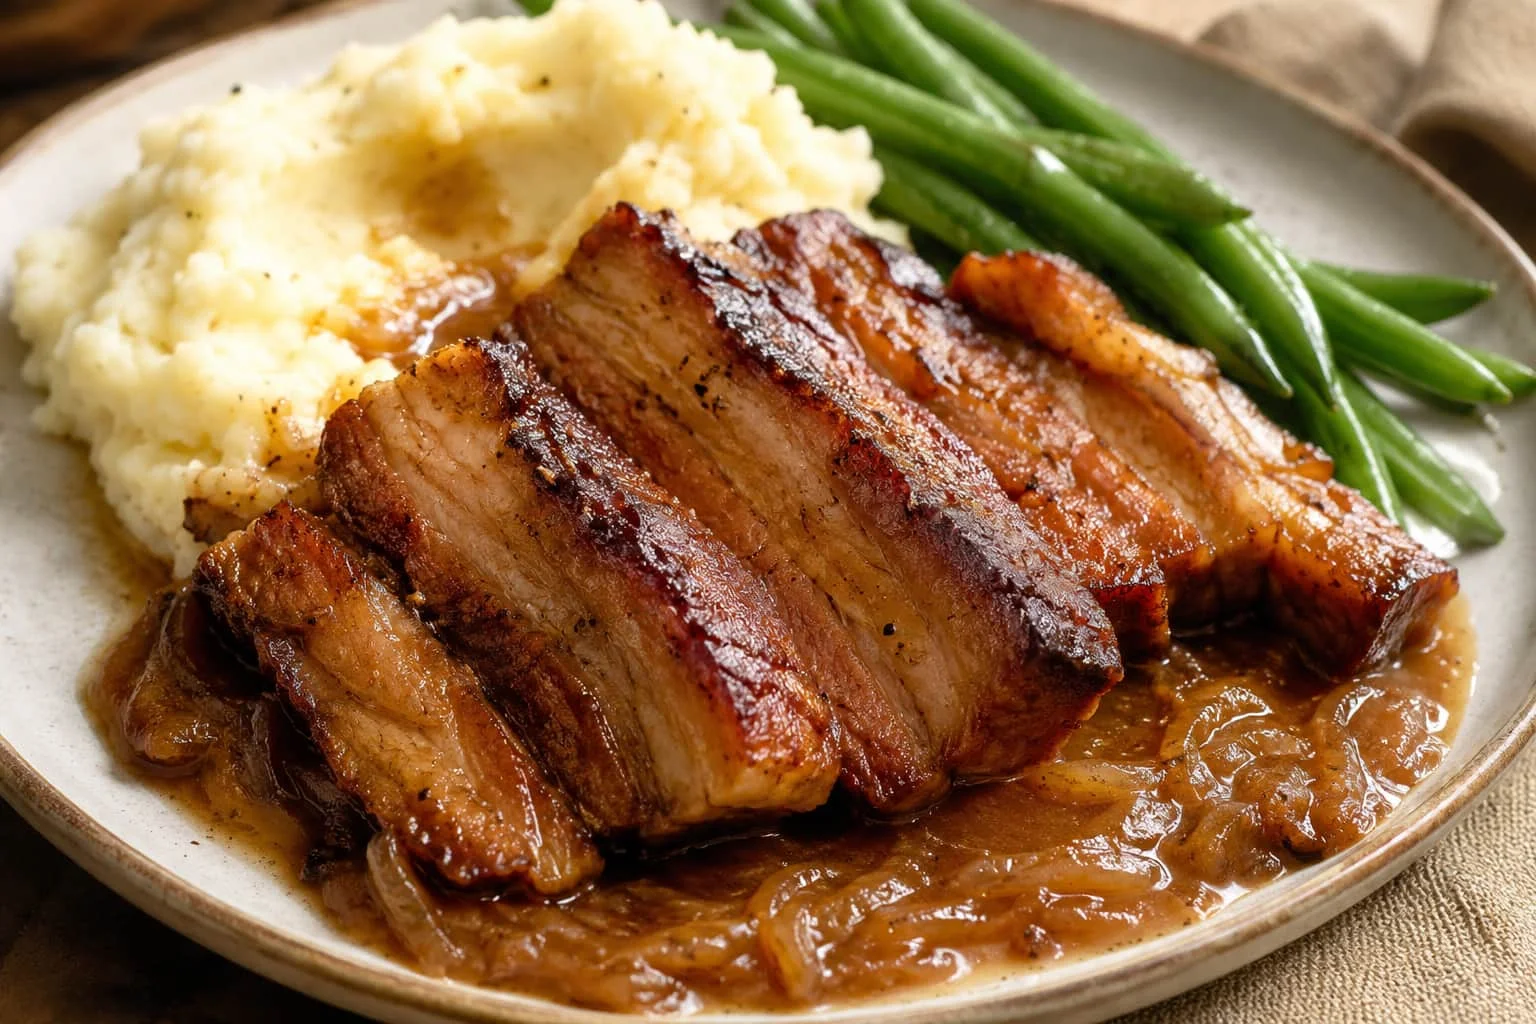
Slow Cooker Pork Belly with Onion Gravy
Notes
- 2 lb boneless, skinless pork belly, cut into 1½ to 2-inch strips
- 1 tsp salt
- ½ tsp black pepper
- 1 tsp paprika
- 1 tsp garlic powder
- 1 tsp onion powder
- ½ tsp dried thyme
- 2 yellow onions, sliced
- 4 garlic cloves, minced
- 1 cup low-sodium chicken or pork stock
- 1 tbsp Worcestershire sauce
- 2 tbsp cornstarch
- 2 tbsp cold water
- Pat pork dry and season on all sides with salt, pepper, paprika, garlic powder, onion powder, and thyme.
- Spread onions in the slow cooker, scatter garlic over them. Pour stock and Worcestershire sauce around the onions.
- Arrange pork in a single layer on top. Cover and cook on low 6 to 7 hours, or high about 4 hours, until fork-tender.
- Transfer pork to a foil-lined baking sheet. Rest 5 to 10 minutes, then blot dry with paper towels.
- Broil in 1 to 2 minute bursts until browned and lightly crisped, 3 to 8 minutes total.
- Let cooking juices settle, skim off the fat. Simmer remaining onions and juices in a saucepan.
- Whisk cornstarch and cold water into a slurry, add gradually to the simmering gravy until thickened. Serve alongside the pork.