I’ve baked more chocolate layer cakes than I can count over the years, for birthdays, for holidays, and honestly, just for a random Tuesday when the craving hit hard. This particular chocolate layer cake recipe is the one I keep coming back to. It’s the cake my family requests by name now, not “chocolate cake,” but “the cake,” like there’s only one that matters.
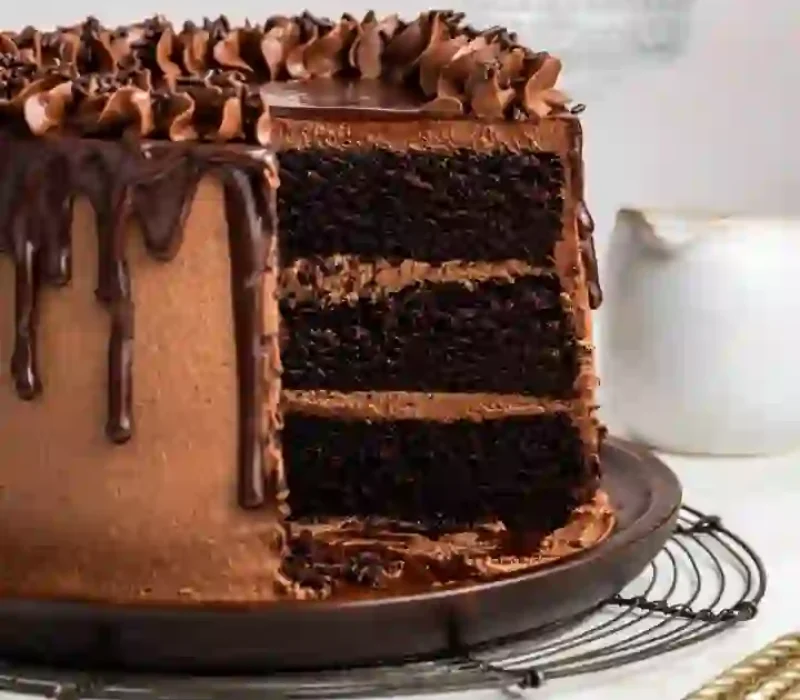
This Ultimate Chocolate Layer Cake Recipe stands out from many homemade chocolate cakes because of its incredible texture. It’s soft without being fragile, rich without being heavy, and sturdy enough to hold its shape beautifully once stacked and frosted. The batter is thin when you mix it, which may seem unusual at first. However, that thin batter is exactly what gives this Ultimate Chocolate Layer Cake Recipe its moist, tender crumb and rich chocolate flavor.
You don’t need any fancy equipment or advanced technique here. If you can whisk, stir, and follow a few simple steps, you can pull off a cake that looks and tastes like it came from a real bakery counter.
Why You’ll Love This Ultimate Chocolate Layer Cake Recipe
There are a lot of chocolate cake recipes floating around, so here’s why this one earns a permanent spot in your recipe box.
- Incredibly moist: Buttermilk and oil keep the crumb soft for days, not just the day you bake it.
- Deep chocolate flavor: Hot coffee wakes up the cocoa powder without making the cake taste like coffee.
- Beginner friendly: No stand mixer required for the cake batter, and the method is nearly foolproof.
- Stable layers: The crumb is sturdy enough to stack and slice cleanly, even for beginners.
- Silky frosting: The chocolate buttercream is smooth, pipeable, and not overly sweet.
- Make ahead friendly: The layers actually taste better on day two once the flavors settle.
What Is a Chocolate Layer Cake?
A Brief History of the Ultimate Chocolate Layer Cake Recipe
Chocolate layer cakes became popular in the late 19th and early 20th centuries as cocoa powder became more widely available for home baking. Earlier chocolate cakes were often dense and less sweet, but improved baking ingredients helped create lighter, softer cakes with a richer chocolate flavor.
By the mid-1900s, the chocolate layer cake had become a favorite for birthdays, holidays, and family celebrations. Home bakers loved its tall layers, creamy frosting, and impressive presentation.
Today, the Ultimate Chocolate Layer Cake Recipe remains one of the world’s most popular desserts. Its moist chocolate layers and smooth buttercream frosting make it a timeless classic that is perfect for birthdays, anniversaries, and any special occasion.
Ingredients for the Ultimate Chocolate Layer Cake Recipe
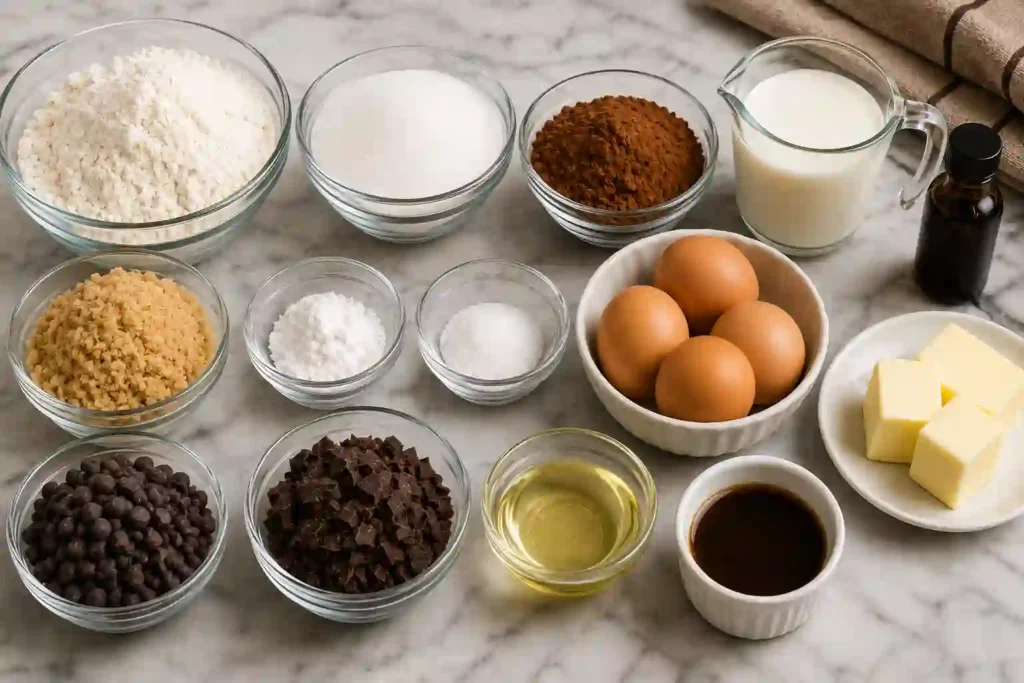
Here’s what each ingredient is actually doing in this chocolate layer cake, not just what it is.
For the Chocolate Cake Layers
- All purpose flour: Builds structure while staying light enough that the cake doesn’t turn dense.
- Unsweetened cocoa powder: The backbone of the chocolate flavor. Natural cocoa powder works especially well here because it reacts with the baking soda for lift.
- Granulated sugar: Sweetens the batter and helps it hold onto moisture as it bakes.
- Baking powder and baking soda: Used together so the cake rises tall without an overly domed top.
- Salt: Rounds out the sweetness and makes the chocolate flavor taste more pronounced, not less.
- Eggs: Add richness and give the batter enough structure to hold its shape.
- Buttermilk: The tenderizing agent. Its acidity reacts with the baking soda and breaks down gluten just enough for a soft, fine crumb.
- Vegetable oil: Keeps the cake moist for days, unlike butter based batters that can dry out faster once refrigerated.
- Vanilla extract: Adds warmth and rounds out the chocolate notes.
- Hot brewed coffee: Intensifies the cocoa flavor. If chocolate desserts are your thing, this trick shows up again in recipes like dark chocolate cake, where deepening the cocoa flavor is the whole point.
For the Chocolate Buttercream Frosting
- Unsalted butter: The creamy base that gives the frosting its smooth texture.
- Powdered sugar: Sweetens and thickens the frosting into a spreadable consistency.
- Cocoa powder: Brings the chocolate flavor into the frosting itself.
- Salt: Keeps the frosting from tasting flat or one note.
- Vanilla extract: Adds a little aromatic depth.
- Heavy cream: Loosens the frosting to a silky, pipeable texture.
Equipment Need For Ultimate Chocolate Layer Cake Recipe
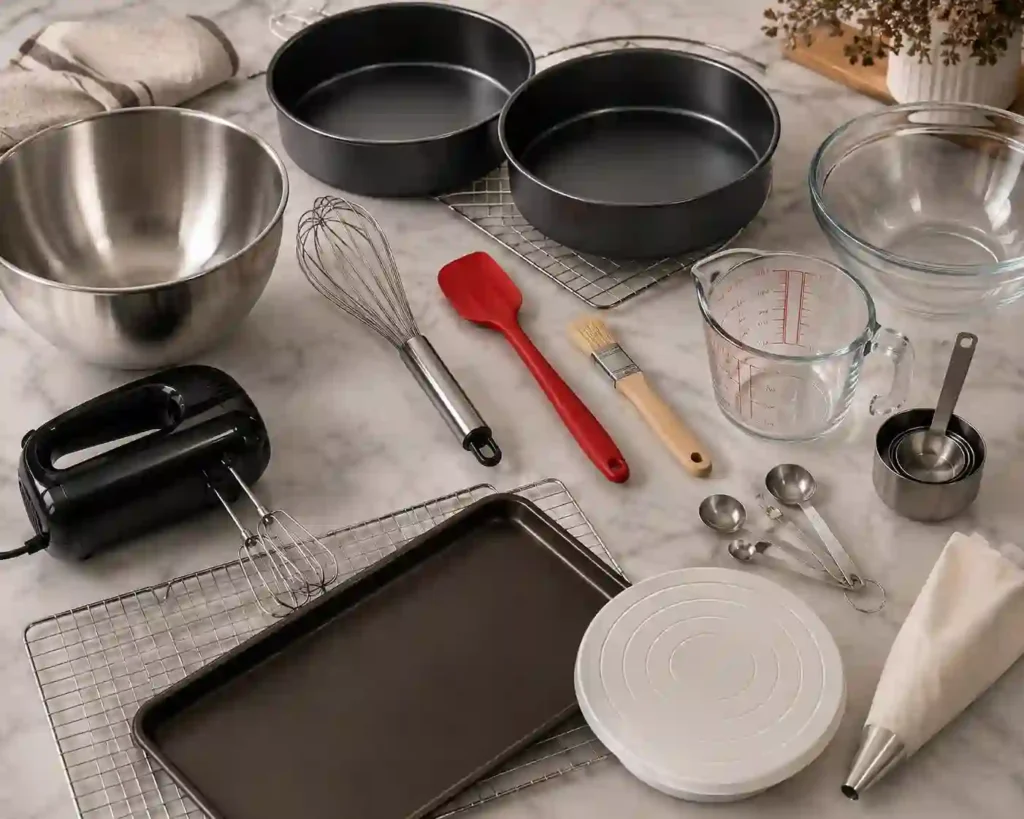
- Two 8-inch round cake pans
- Parchment paper rounds
- Two mixing bowls
- Whisk or hand mixer
- Offset spatula (for frosting)
- Stand mixer (optional, but helpful for making buttercream)
How to Make the Ultimate Chocolate Layer Cake Recipe
Step 1: Prep the Pans and Oven
Preheat your oven to 350°F (180°C). Grease two 8 inch round cake pans and line the bottoms with parchment paper. This double protection means your layers release cleanly every time, even if your pans are older and a little scratched up.
Step 2: Whisk the Dry Ingredients
In a large bowl, whisk together the flour, cocoa powder, sugar, baking powder, baking soda, and salt. Whisking, instead of just stirring, breaks up any cocoa clumps and distributes the leaveners evenly, so you don’t end up with weird pockets in the baked cake.
Step 3: Add the Wet Ingredients
Add the eggs, buttermilk, oil, and vanilla directly into the dry mixture. Mix until just combined. The batter will look thick and a little shaggy at this stage, and that’s completely normal.
Step 4: Stir in the Hot Coffee
Pour in the hot coffee and stir gently until smooth. The batter will thin out dramatically here, almost to the consistency of chocolate milk. Don’t panic. This thin batter is exactly what produces that soft, moist crumb once it bakes. Bakers have leaned on this coffee trick for decades, and King Arthur Baking has written about how a small amount of coffee or espresso powder makes chocolate taste more intensely like chocolate without adding a coffee flavor of its own.
Step 5: Bake the Layers
Divide the batter evenly between your prepared pans. Bake for 28 to 32 minutes, until a toothpick inserted in the center comes out clean or with just a few moist crumbs. Let the cakes cool in their pans for 10 minutes, then turn them out onto a wire rack to cool completely before frosting.
Step 6: Make the Chocolate Buttercream
Beat the softened butter on its own until it turns pale and creamy, about 2 minutes. Add the powdered sugar and cocoa powder in batches, beating well after each addition. Mix in the salt and vanilla, then splash in the heavy cream a little at a time until the frosting turns smooth, fluffy, and easy to spread.
Step 7: Assemble the Cake
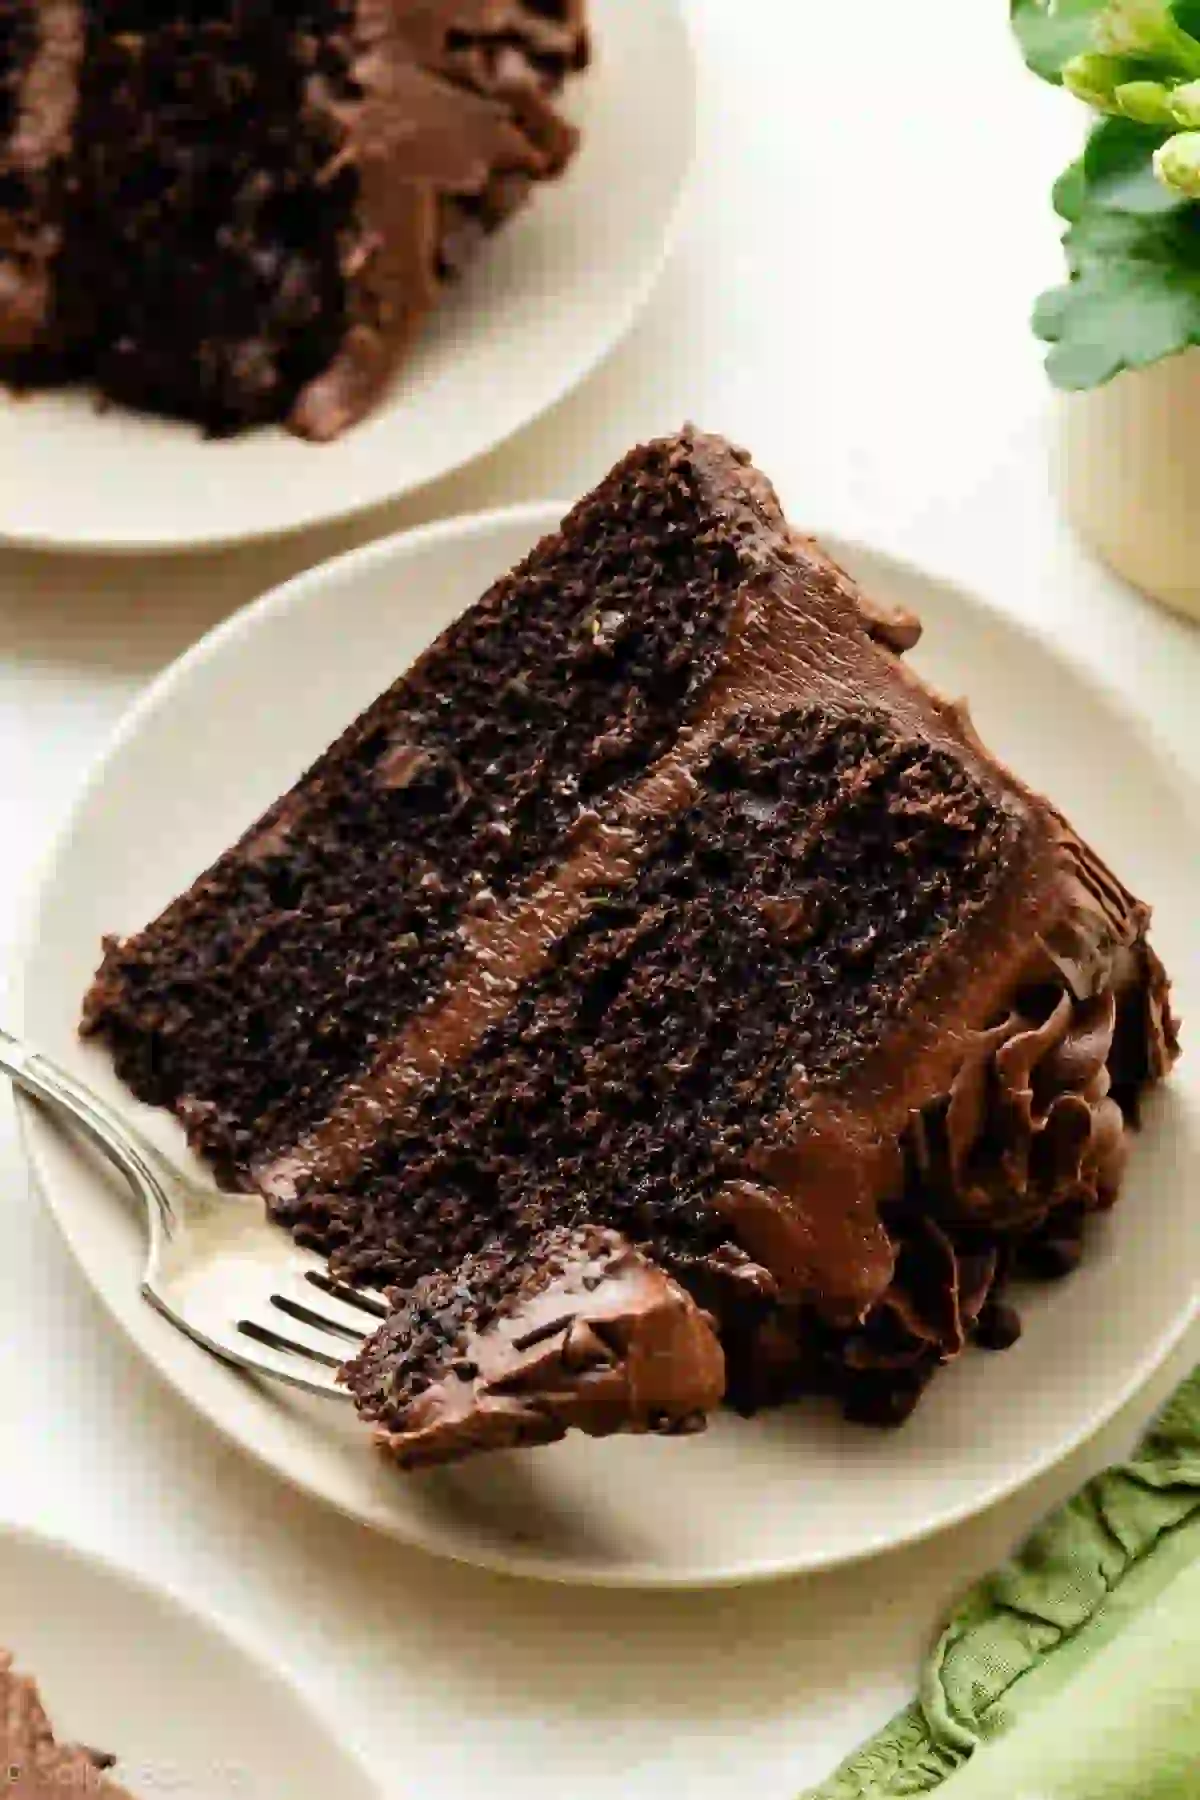
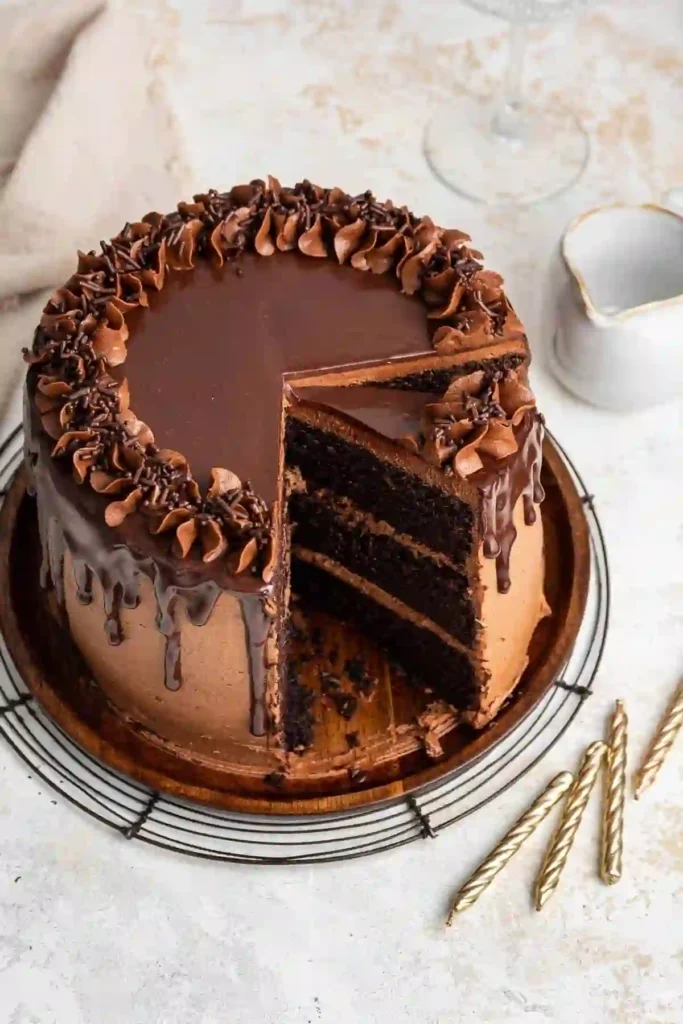
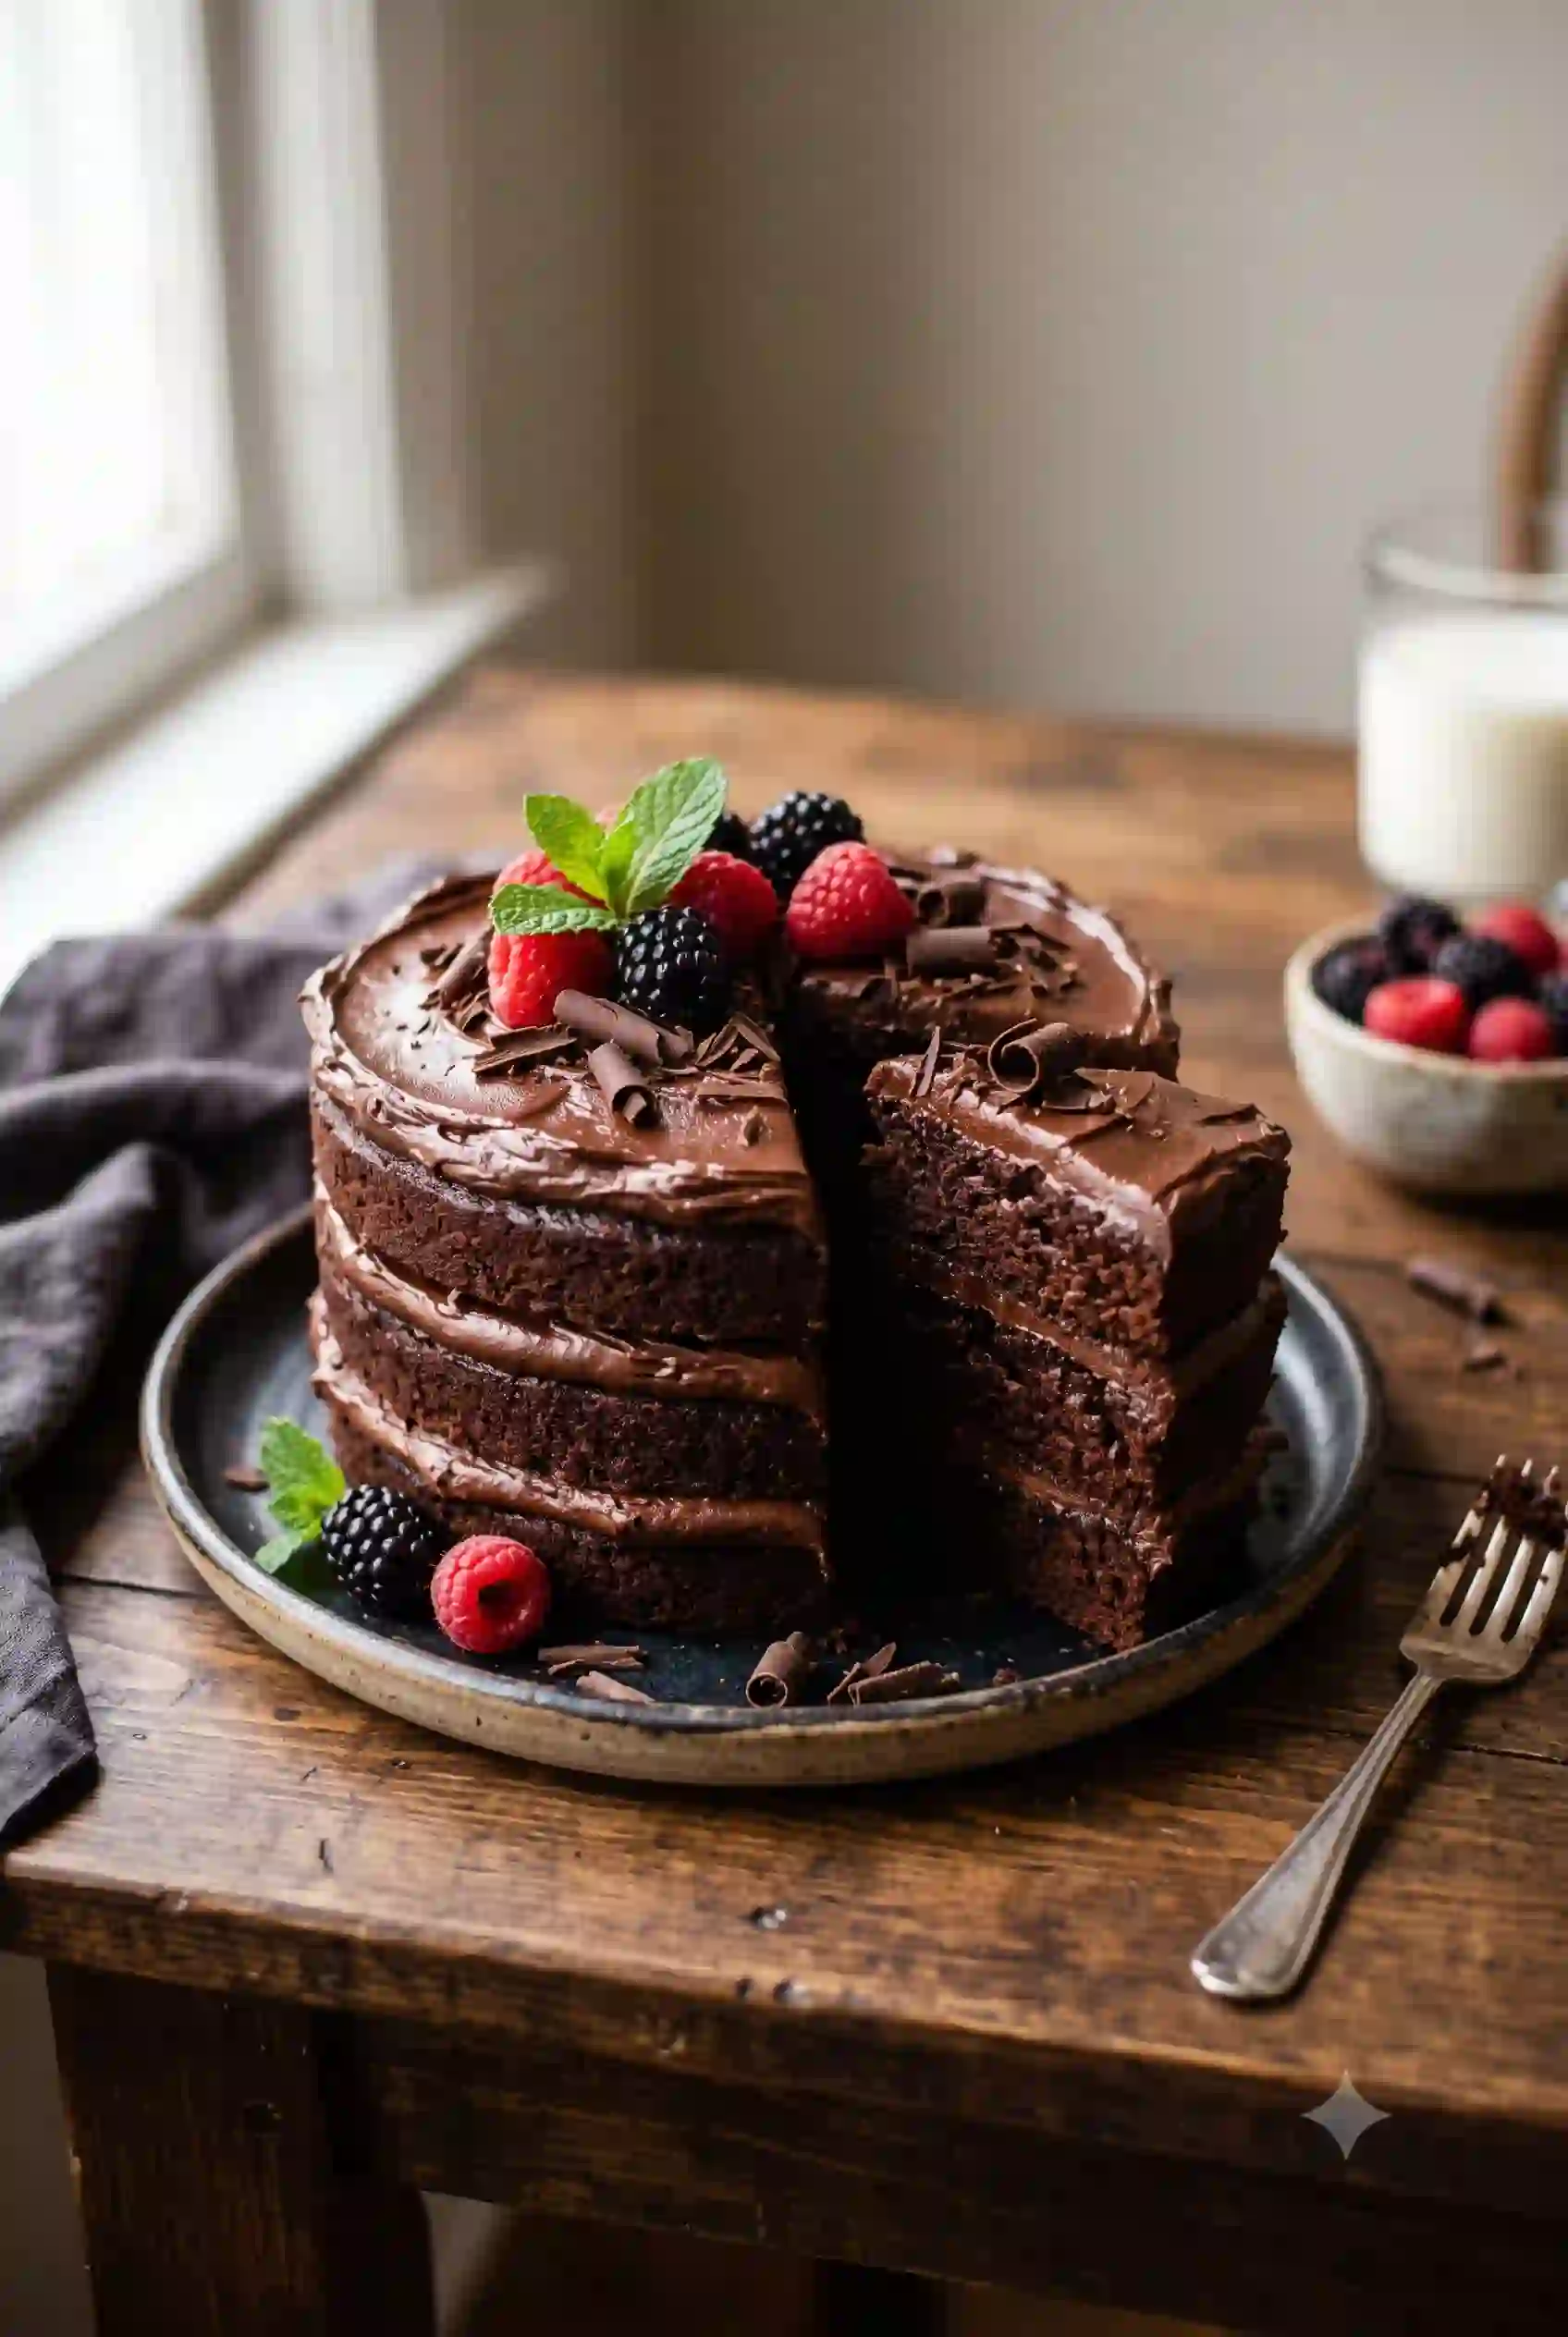
Level the tops of your cake layers with a serrated knife if they domed while baking. Spread a generous layer of frosting over the first layer, place the second layer on top, then frost the top and sides smoothly. Finish with chocolate shavings, sprinkles, or a ganache drip if you’re in the mood to show off.
Expert Tips for a Perfect Chocolate Layer Recipe
- Use room temperature eggs and buttermilk. Cold ingredients don’t combine as smoothly and can leave your batter slightly lumpy.
- Don’t skip the coffee, even if you’re not a coffee drinker. You genuinely will not taste it, just a deeper chocolate flavor.
- Watch your bake time closely. Even 5 extra minutes in the oven can dry out the crumb on a thin batter cake like this one.
- Let the layers cool completely before frosting. Warm cake melts buttercream and makes a mess of your frosting job.
- Chill the finished cake for 15 to 20 minutes before slicing for cleaner, more photogenic slices. If you enjoy simpler one pan bakes on busy days, this chocolate sheet cake skips the stacking and frosting layers entirely while keeping the same rich flavor.
Chocolate Layer Cake Recipe Mistakes To Avoid
- Overmixing the batter: This develops too much gluten and leads to a denser, tougher cake. Mix just until the ingredients disappear into each other.
- Skipping the parchment paper: Even well greased pans can grip onto a delicate cake like this one. Parchment rounds are cheap insurance against a stuck layer.
- Frosting warm cake: This is the number one reason home bakers end up with a frosting disaster. Patience pays off here.
- Using cold butter for the frosting: Cold butter won’t cream properly and leaves lumps in your buttercream. Give it real time to soften at room temperature.
- Overbaking: A dry chocolate cake is almost always the result of a few extra minutes in the oven. Start checking at the 28 minute mark.
Recipe Variations For Chocolate Layer Cake Recipe
This chocolate layer cake is easy to customize once you’ve nailed the base recipe.
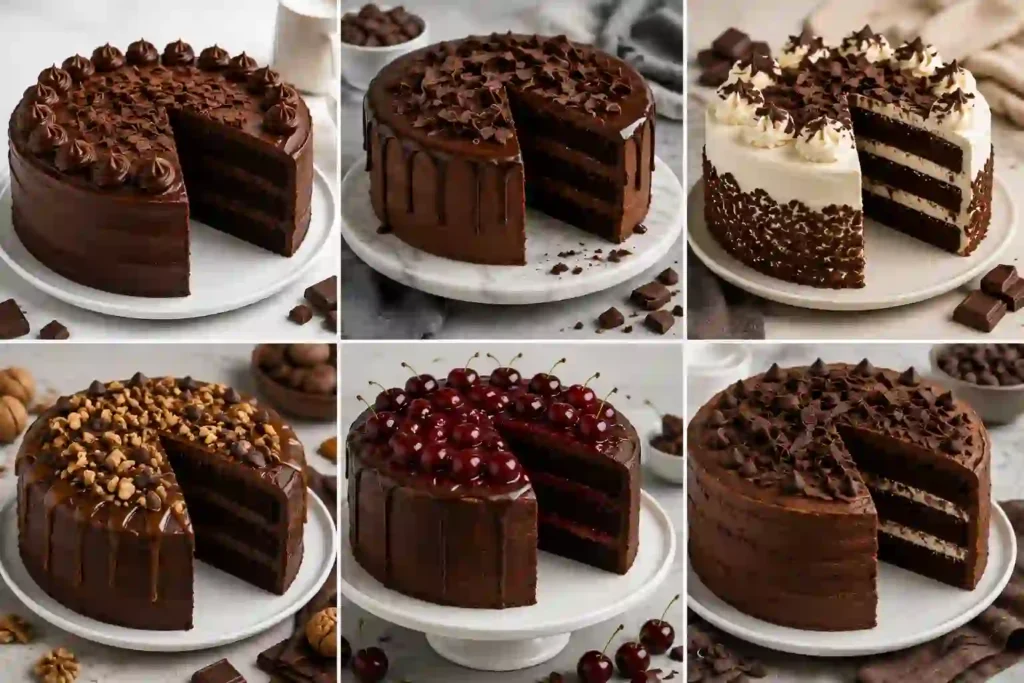
- Add mini chocolate chips to the batter for extra pockets of melted chocolate.
- Fill the center with ganache, Nutella, or a layer of chocolate mousse for something more decadent.
- Top with fresh berries for a brighter, slightly tart contrast to the rich chocolate.
- Split the batter into three pans instead of two for a taller, more dramatic triple layer cake.
- Swap the buttercream for a cream cheese frosting if you want something tangier. If dense, fudgy chocolate desserts are more your speed, this chocolate fudge cake leans even further into that direction.
Serving Suggestions for chocolate layer cake Recipe
- Serve with a scoop of vanilla ice cream for a classic pairing.
- Add a dollop of lightly sweetened whipped cream for extra richness.
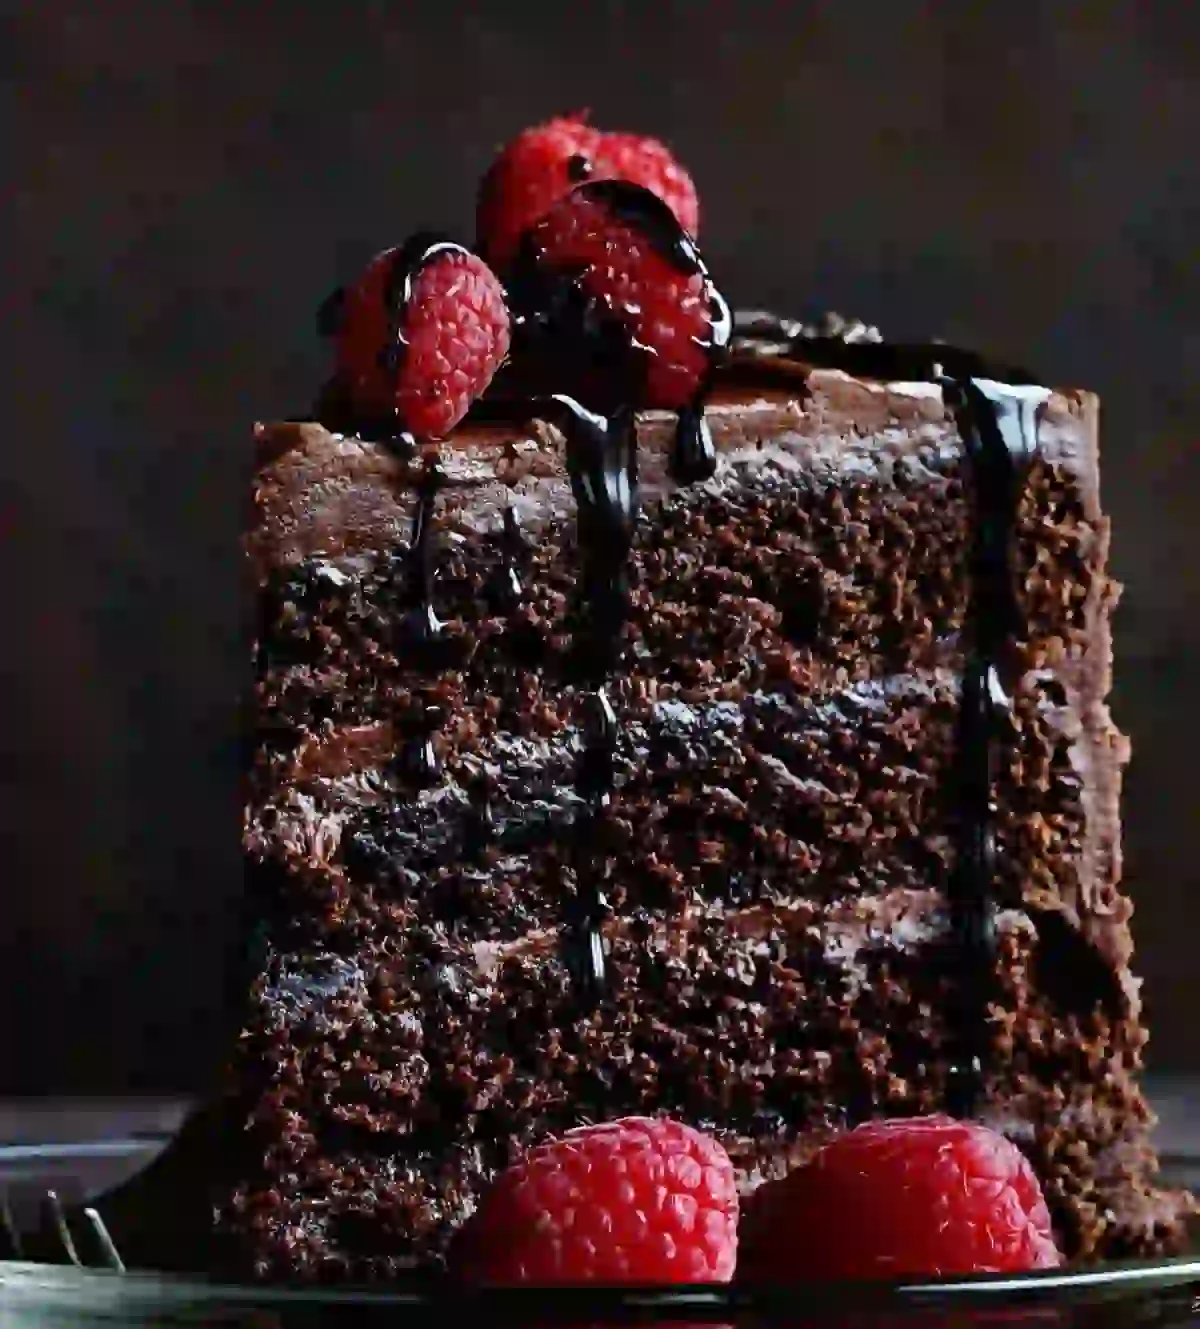
- Top with fresh raspberries to balance the rich chocolate flavor.
- Pair the Ultimate Chocolate Layer Cake Recipe with a light dessert like tres leches cake for holidays or special occasions.
- Serve with hot coffee, espresso, or a cold glass of milk for the perfect dessert experience., like a tres leches cake, so guests can choose between rich and refreshing.
How to Store Ultimate Chocolate Layer Cake Recipe
Store the frosted cake at room temperature under a cake dome or in an airtight container for up to 1 day. Because this frosting is a butter based buttercream rather than a cream cheese or whipped cream frosting, it holds up reasonably well outside the fridge for a short window, but it should still move to the refrigerator for longer storage.
Covered in the fridge, it stays fresh for 4 to 5 days. Wrapped tightly in plastic wrap and foil, it also freezes well for up to 3 months. According to USDA food safety guidance, perishable foods with dairy and eggs shouldn’t sit out longer than two hours in warm conditions, so use your judgment based on how warm your kitchen runs.
How To Reheating Leftover Chocolate Layer Cake Recipe
Chocolate layer cake with buttercream is best enjoyed at room temperature rather than reheated, since warming it can melt the frosting. If you’ve refrigerated a slice, simply let it sit on the counter for 20 to 30 minutes before serving so the crumb softens back up. If you truly want it warm, a few seconds in the microwave on a low power setting will do it, just watch closely so the frosting doesn’t slide right off.
Tips for the Best Ultimate Chocolate Layer Cake Recipe
These make ahead tips make the Ultimate Chocolate Layer Cake Recipe perfect for birthdays, holidays, and busy schedules.
Bake the cake layers up to 2 days in advance.
Wrap the cooled layers tightly in plastic wrap and store them at room temperature.
Freeze the cake layers for up to 1 month if you need to prepare them further ahead.
Make the buttercream frosting 1 day ahead and keep it refrigerated.
Bring the frosting to room temperature before using it.
Rewhip the frosting briefly until it’s smooth and fluffy.
Frequently Asked Questions For Chocolate Layer Cake
Can I Use Hot Water Instead of Coffee in the Ultimate Chocolate Layer Cake Recipe?
Yes, you can substitute hot water for the hot coffee in the Ultimate Chocolate Layer Cake Recipe. The cake will still turn out moist, soft, and rich in chocolate flavor.
However, hot coffee enhances the cocoa and creates a deeper chocolate taste without making the cake taste like coffee. If you don’t have coffee on hand or prefer not to use it, hot water is an excellent substitute.
Why is my cake batter so thin?
That’s normal for this recipe. The hot coffee thins the batter significantly, which is exactly what produces such a moist, tender crumb once baked. A thick batter here would actually bake up drier.
Can I use this recipe to make cupcakes?
Yes. Divide the batter among lined muffin cups and bake at 350°F for about 18 to 20 minutes, checking with a toothpick. You’ll get roughly 24 standard cupcakes from this batter.
How do I keep my cake layers from doming too much?
Make sure your oven temperature is accurate with an oven thermometer, and avoid overmixing the batter. If your layers still dome slightly, a serrated knife levels them out easily before stacking.
Can I freeze the whole assembled cake?
It’s better to freeze the layers unfrosted and the frosting separately, then assemble after thawing. A fully frosted cake can be frozen, but the texture of the buttercream suffers more than if you freeze the components apart.
What’s the best cocoa powder for this recipe?
Natural unsweetened cocoa powder works best because it reacts with the baking soda for proper lift. Dutch process cocoa can be used too, but you may want to add a touch more baking powder since it’s less acidic.
Can Beginners Make the Ultimate Chocolate Layer Cake Recipe?
Yes! The Ultimate Chocolate Layer Cake Recipe is beginner-friendly with simple steps. Just avoid overmixing the batter and let the cake layers cool completely before frosting for the best results.
How Far Ahead Can I Make the Ultimate Chocolate Layer Cake Recipe?
You can bake the Ultimate Chocolate Layer Cake Recipe up to 2 days ahead or freeze the cake layers for up to 1 month. For the freshest flavor, assemble and frost the cake the day before or the day of your event.
Conclusion
This Ultimate Chocolate Layer Cake Recipe has earned its place as a go-to favorite in my kitchen because it delivers everything a chocolate cake should. It has a moist, tender crumb, deep cocoa flavor, and a silky buttercream that brings every layer together.
The Ultimate Chocolate Layer Cake Recipe is forgiving enough for first-time bakers yet impressive enough to serve as a birthday centerpiece. Once you’ve made it a couple of times, you’ll understand why hot coffee and buttermilk are essential ingredients in so many great chocolate cake recipes. You may never go back to a plain water-based batter again.
Chocolate Layer Cake Recipe
Notes
Ingredients
Chocolate Cake Layers- 1 3/4 cups all purpose flour
- 3/4 cup unsweetened cocoa powder
- 2 cups granulated sugar
- 2 tsp baking powder
- 1 1/2 tsp baking soda
- 1 tsp salt
- 2 large eggs
- 1 cup buttermilk
- 1/2 cup vegetable oil
- 2 tsp vanilla extract
- 1 cup hot brewed coffee (or hot water)
- 1 cup unsalted butter, room temperature
- 3 cups powdered sugar
- 1/2 cup cocoa powder
- 1/2 tsp salt
- 2 tsp vanilla extract
- 1/4 cup heavy cream
Instructions
- Preheat oven to 350°F (180°C). Grease two 8 inch round cake pans and line the bottoms with parchment paper.
- In a large bowl, whisk together the flour, cocoa powder, sugar, baking powder, baking soda, and salt.
- Add the eggs, buttermilk, oil, and vanilla. Mix until just combined, without overmixing.
- Pour in the hot coffee and stir gently. The batter will be thin. This is normal and creates a moist cake.
- Divide the batter between the prepared pans. Bake for 28 to 32 minutes, until a toothpick comes out clean.
- Cool the layers in their pans for 10 minutes, then turn out onto a wire rack to cool completely.
- Beat the softened butter until creamy. Add powdered sugar and cocoa powder in batches, beating well.
- Mix in the salt and vanilla, then add heavy cream a little at a time until smooth, fluffy, and spreadable.
- Level the cake tops if needed. Spread frosting over the first layer, add the second layer, then frost the top and sides.
- Decorate with chocolate shavings, sprinkles, or ganache, and chill for 15 to 20 minutes before slicing.
Notes
- Room temperature eggs and buttermilk blend more smoothly into the batter.
- Do not skip the coffee. It deepens the chocolate flavor without tasting like coffee.
- Check for doneness starting at 28 minutes to avoid a dry cake.
Storage
- Room temperature: up to 1 day, covered
- Refrigerator: 4 to 5 days, covered
- Freezer: up to 3 months, wrapped tightly