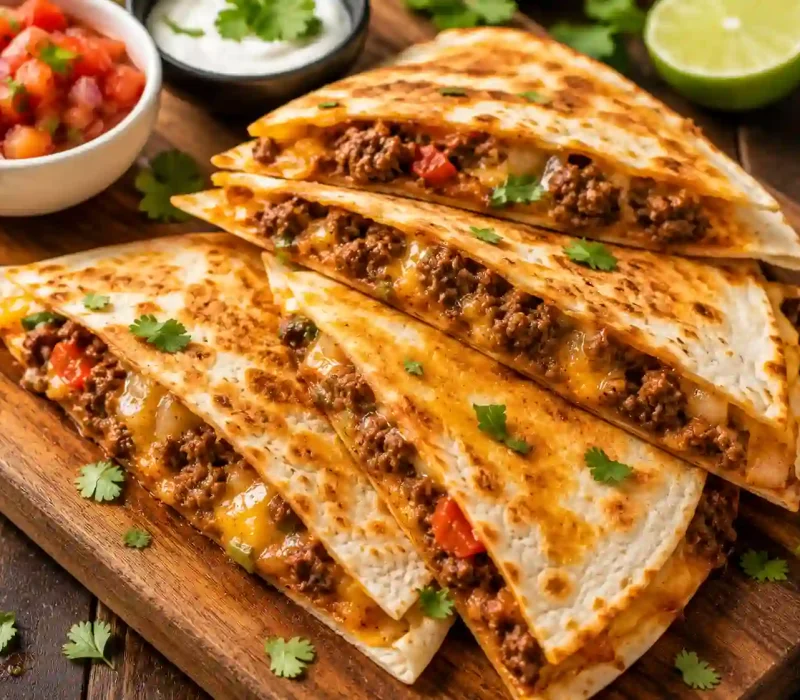
Easy Ground beef quesadillas are the dinner my whole family agrees on, and they come together in about 30 minutes with ingredients I almost always have. Seasoned ground beef and a generous layer of melty cheese get tucked into flour tortillas, then cooked until golden and crackly crisp on the outside and gooey in the middle. They’re endlessly customizable, budget friendly, and just as good for a quick lunch or game day snack as they are for a weeknight dinner.
The trick to quesadillas that are crispy instead of soggy comes down to two things: drain the beef well after browning, and cook them over steady medium heat with a little butter. I’ll walk you through the seasoned beef, the cheese that melts best, and how to fold and cook them so they hold together and shatter when you bite in.
Key Takeaways
- Seasoned ground beef + a melty cheese blend + crispy tortillas in about 30 minutes.
- Brown and season the beef to 160°F, then drain it well so the quesadillas don’t get soggy.
- Freshly shredded Monterey Jack and cheddar melt the creamiest.
- Cook over medium heat with a little butter and press gently for golden, crispy tortillas.
- Great for meal prep; the beef filling keeps for days and freezes well.
Why You’ll Love These Easy Ground Beef Quesadillas
These quesadillas earn their spot in the rotation because they’re fast, cheap, and please absolutely everyone at the table.
They’re a one pan meal, so cleanup is minimal. They’re ready in about 30 minutes, perfect for busy nights. They’re budget friendly, built on simple pantry staples, and family approved, since kids and adults both devour them. They’re endlessly customizable with different meats, cheeses, and veggies, and they’re made for meal prep, storing and reheating beautifully. Serve them with salsa, sour cream, and guacamole, and you’ve got a meal that never disappoints.
What Is a Quesadilla?
A quesadilla is a Mexican dish of a tortilla filled with cheese, and often meat or vegetables, then folded and cooked until the cheese melts and the tortilla crisps. The name literally means “little cheesy thing” in Spanish.
As the traditional Mexican quesadilla shows, the dish originated in colonial Mexico and is traditionally made with corn tortillas and melting cheeses like Oaxaca or Chihuahua, warmed on a comal until the cheese melts. This ground beef version is the popular Tex Mex take, using flour tortillas and a seasoned beef filling. Knowing that helps you build a great one: cheese is the star and the glue, so you want plenty of it, well melted, with the beef as a savory partner.
Ingredients You’ll Need
This is a short, flexible list. Here’s what each part does; measurements are in the recipe card below.
Ground beef. Eighty to eighty five percent lean gives you flavor without a greasy filling. Drain it well after browning.
Onion and seasoning. Diced onion plus a homemade blend of chili powder, cumin, garlic powder, and oregano gives the beef that classic taco flavor. A packet of taco seasoning works too.
Tomato paste or salsa. A couple of tablespoons keeps the filling saucy and cohesive instead of dry and crumbly.
Cheese. A blend of Monterey Jack and cheddar melts creamy and pulls beautifully. Shred it fresh from a block for the best melt, since pre shredded is coated to resist clumping.
Flour tortillas. Large burrito size tortillas are easiest to fold. Corn tortillas work for a more traditional, gluten free option.
Butter. A little butter in the pan gives the tortillas the best golden, crispy browning. Oil makes them extra crisp if you prefer.
Here’s a quick swap guide for the most common substitutions:
| Ingredient | Substitute | Notes |
| Ground beef | Ground turkey, chicken, or leftover taco meat | Leaner options; season a little more |
| Homemade seasoning | 1 packet taco seasoning | Convenient shortcut |
| Tomato paste | Salsa or a splash of water | Keeps the filling saucy |
| Monterey Jack + cheddar | Colby jack or Mexican blend | Any good melting cheese |
| Flour tortillas | Corn tortillas | More traditional and gluten free |
Equipment You’ll Need
You only need a few basics for this one.
- A large nonstick or cast iron skillet gives you an even, hot surface for browning both the beef and the tortillas.
- A wide spatula or turner makes flipping a loaded quesadilla without spilling the filling much easier.
- And a box grater is worth pulling out to shred cheese fresh, which melts far creamier than the bagged kind. A regular skillet and any turner you own will get the job done too.
How to Make Easy Ground Beef Quesadillas
The process is simple: make the filling, then assemble and crisp. Here’s how I do it.
Step 1: Brown the beef. Cook the ground beef and diced onion in a skillet over medium high heat, breaking up the meat, for 5 to 7 minutes until browned and no longer pink at a ground beef doneness temperature of 160°F. Drain off the excess grease, which is the key to crisp, non soggy quesadillas.
Step 2: Season the filling. Stir in the chili powder, cumin, garlic powder, oregano, salt, tomato paste, and a splash of water. Simmer for 2 to 3 minutes until the filling is saucy and fragrant, then set it aside.
Step 3: Assemble. Melt a little butter in a clean skillet over medium heat. Lay a tortilla in the pan, sprinkle cheese over half of it, spoon on some beef, then add a little more cheese on top so it melts into glue. Fold the tortilla over.
Step 4: Cook until crispy. Cook 2 to 3 minutes per side, pressing gently with the spatula, until the tortilla is golden and crisp and the cheese is fully melted. You’ll hear it sizzle and see the edges turn deep golden brown.
Step 5: Rest and slice. Let each quesadilla rest for a minute so the cheese sets slightly, then cut into wedges. Serve hot with salsa, sour cream, and guacamole.
What Cheese Melts Best for Quesadillas?
The best melting cheeses for quesadillas are Monterey Jack, cheddar, or a Mexican blend, ideally shredded fresh from a block. Monterey Jack melts smooth and creamy, cheddar adds sharp flavor, and together they give you that irresistible cheese pull.
For the most authentic, ultra melty result, Oaxaca cheese is the traditional Mexican choice and pulls like mozzarella. Whatever you use, avoid pre shredded bags when you can, because the anti caking starch coating keeps them from melting as smoothly. Grating your own takes an extra minute and makes a real difference in the final texture.
How Do You Keep Quesadillas Crispy, Not Soggy?
Keep quesadillas crispy by draining the beef well and cooking over steady medium heat with a little butter or oil. Excess grease and moisture are what turn tortillas soft and limp, so a well drained, not too wet filling is the foundation.
A few more habits help. Don’t overfill them, since a packed quesadilla steams from the inside and won’t crisp. Cook them on medium, not high, so the tortilla browns evenly before the cheese overflows. And if you’re making a batch, keep the finished ones warm and crisp on a rack in a 250°F oven rather than stacking them, which traps steam. Reheating in a skillet, oven, or air fryer keeps them far crisper than the microwave.
Expert Tips for the Best Results
These small habits are what make quesadillas that shatter when you bite in.
Put cheese on both sides of the filling, since melted cheese acts as the glue that holds everything together. Fold from the closed side when you flip so nothing spills out. Use freshly shredded cheese for the creamiest melt, and don’t rush the heat, letting each side get deeply golden before flipping. If you love quick, cheesy beef dinners like this, my smash burger with sauce is another fast family favorite.
Common Mistakes to Avoid
Most quesadilla problems come down to a few fixable missteps. Here’s what goes wrong and how to correct it.
| Problem | Cause | Fix |
| Soggy, limp tortilla | Greasy filling or too much oil | Drain the beef well; use just a little butter |
| Filling falls out | Overstuffed or no cheese glue | Use less filling; add cheese on both sides |
| Burnt outside, cold inside | Heat too high | Cook on steady medium; give the cheese time to melt |
| Bland filling | Under seasoned beef | Season well and simmer with tomato paste |
| Won’t crisp up | Crowded pan or stacked to serve | Cook one at a time; hold on a rack in a warm oven |
Variations to Try
This recipe is a flexible base you can take in a lot of directions.
Add extra veggies like sautéed bell peppers, corn, spinach, mushrooms, or jalapeños for more flavor and nutrition. Stir in a can of drained black beans to stretch the filling and add fiber. Make them spicier with diced jalapeños, hot sauce, or a pinch of cayenne in the beef. Swap the protein for turkey, chicken, or leftover taco meat. And if you’re in the mood for another Tex Mex dinner, my crockpot chicken fajitas and salsa fresca chicken are two more easy, crowd pleasing options.
What to Serve With Ground Beef Quesadillas?
Quesadillas are satisfying on their own, but a few simple sides turn them into a full spread. The classics are cool, fresh toppings and something to scoop.
Serve them with salsa, sour cream, guacamole, or queso for dipping, plus Mexican rice or refried beans on the side. A crisp salad or elote style corn rounds out the plate. For a bigger Tex Mex feast, add a pan of healthy chicken enchiladas or a skillet of sazon skillet chicken. A squeeze of lime and fresh cilantro over everything ties it together.
How Do You Store and Reheat Them?
Store leftover ground beef quesadillas in an airtight container in the fridge for 3 to 4 days. They make a great next day lunch, and they reheat well if you use the right method.
To reheat, warm them in a dry skillet over medium heat, in a 375°F air fryer, or in a hot oven, all of which bring back the crispy exterior. Skip the microwave if you can, since it makes the tortilla soft and chewy. If you’ve only cooked the filling, keep it separate and assemble fresh quesadillas whenever you want one.
Can You Make Them Ahead and Freeze?
Yes, quesadillas are excellent for making ahead. You can cook the seasoned beef filling one to two days in advance and refrigerate it, then assemble and crisp fresh quesadillas in minutes when you’re ready.
For freezing, assemble the quesadillas uncooked, wrap them individually, and freeze for up to 2 months. Cook them straight from frozen in a skillet over medium low heat until the cheese melts and the tortilla crisps, or thaw overnight first. Cooked leftovers freeze well too; just reheat in a skillet or air fryer for the best texture.
Frequently Asked Questions
Can I prep the ground beef filling ahead of time?
Yes, the filling is perfect for prepping ahead. Cook and season the beef one to two days in advance, then store it in an airtight container in the fridge. When you’re ready to eat, just reheat it and assemble fresh quesadillas, which keeps the tortillas crisp.
Can I use a different type of meat?
Absolutely. Ground turkey, ground chicken, or plant based crumbles all work for a lighter or vegetarian version. Leftover taco meat or shredded chicken are great shortcuts too. Since leaner meats have less fat, season them a little more generously to keep the flavor rich.
Should I use corn or flour tortillas?
Both work, and it comes down to preference. Large flour tortillas are easiest to fold and stay pliable, which is why they’re the go to for beef quesadillas. Corn tortillas are more traditional and naturally gluten free, but they’re smaller and can crack, so warm them first.
Should I use butter or oil to cook them?
Butter gives the best golden color and a rich, toasty flavor, while oil makes the tortilla extra crispy. Many cooks use a mix of both. Whichever you choose, use just a thin coating and cook over medium heat so the tortilla browns without burning.
Can I make quesadillas in an air fryer or oven?
Yes. For the air fryer, cook assembled quesadillas at 375°F for about 6 to 8 minutes, flipping halfway. For the oven, bake on a sheet pan at 400°F for 8 to 10 minutes until golden. Both are great for cooking several at once.
Final Take
Easy ground beef quesadillas are proof that a handful of simple ingredients makes one of the most satisfying quick meals around. Season and drain the beef, layer it with plenty of cheese, and cook the tortillas over steady heat until they’re golden and crisp. Serve them with all your favorite toppings and customize the filling however you like. Give them a try and come back to leave a rating so I know how yours turned out.
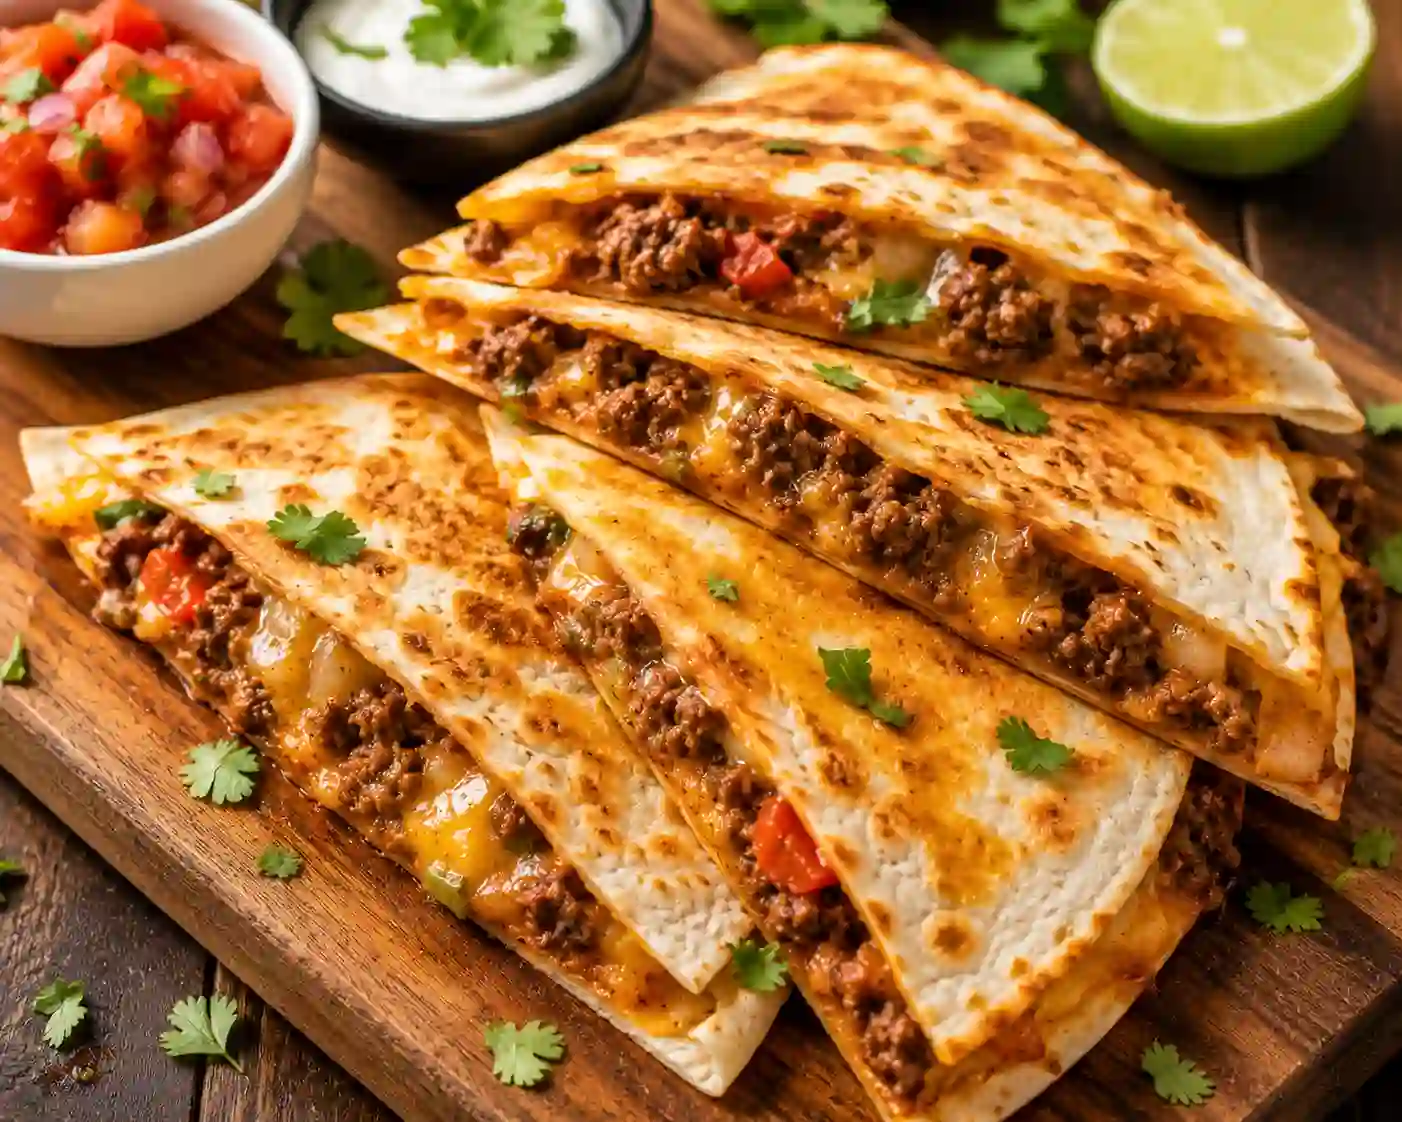
Easy Ground Beef Quesadillas Recipe
Notes
- 1 lb ground beef (80–85% lean)
- ½ onion, finely diced
- 2 tsp chili powder
- 1 tsp ground cumin
- ½ tsp garlic powder
- ½ tsp dried oregano
- ½ tsp salt
- 2 tbsp tomato paste (or 3 tbsp salsa)
- 2 tbsp water
- 2½ cups shredded Monterey Jack and cheddar blend
- 4 large flour tortillas
- 2 tbsp butter, for the pan
- Optional: diced bell pepper, black beans, jalapeño, cilantro
- To serve: salsa, sour cream, guacamole
- Brown the ground beef and onion in a skillet over medium high heat, 5–7 minutes, until cooked to 160°F. Drain excess grease.
- Stir in the chili powder, cumin, garlic powder, oregano, salt, tomato paste, and water. Simmer 2–3 minutes until saucy.
- Melt a little butter in a skillet over medium heat. Lay a tortilla down, add cheese over half, then beef, then more cheese. Fold over.
- Cook 2–3 minutes per side, pressing gently, until golden and crisp and the cheese melts.
- Rest 1 minute, then cut into wedges. Repeat with remaining tortillas and serve with toppings.
- Drain the beef well; excess grease makes quesadillas soggy.
- Put cheese on both sides of the filling so it acts as glue.
- Freshly shredded cheese melts creamier than pre shredded.
- Reheat in a skillet, oven, or air fryer to keep them crispy.
- Refrigerate leftovers 3–4 days.
- Freeze assembled uncooked quesadillas up to 2 months; cook from frozen.
- Reheat in a skillet or air fryer, not the microwave.
Calories: 470 · Protein: 28 g · Carbohydrates: 30 g · Fat: 26 g · Fiber: 2 g · Sugar: 3 g