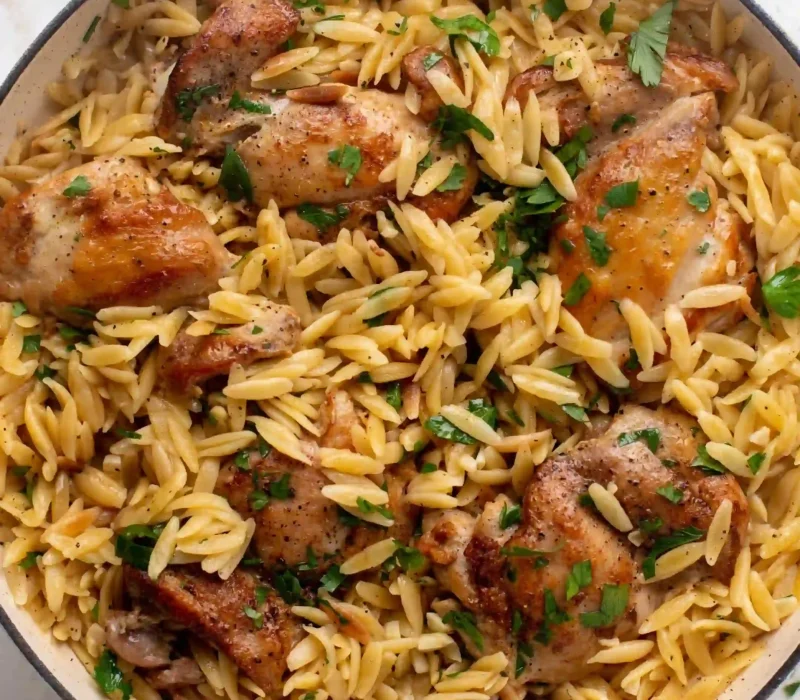
I’ve made a version of this skillet garlic butter chicken and orzo recipe more times than I can count, usually on nights when I don’t want to think too hard about dinner but still want it to taste like I tried. It’s one pan, it’s done in half an hour, and the orzo pulls double duty as both your starch and your sauce no side dish required.
What makes this different from a lot of the “one pan chicken and pasta” recipes floating around is the order of operations. You sear the chicken first, then toast the dry orzo directly in the leftover butter and browned bits before adding any liquid. That single step toasting, not boiling is what gives this dish its depth. Skip it, and you basically end up with buttered pasta next to chicken. Do it right, and the orzo tastes like it’s been simmering all day.
Why You’ll Love This Recipe
- One pan, start to finish. Chicken, orzo, and sauce all happen in the same skillet, so cleanup is minimal.
- 30 minutes, no marinating. This is a same night dinner, not a plan ahead one.
- The orzo doesn’t go mushy as long as you follow the toasting and liquid ratio below, which most recipes skip explaining.
- Rich without heavy cream. Butter, garlic, and parmesan do the work; you don’t need a cream base to get a silky texture.
- Flexible for what’s in your fridge. Spinach, sun dried tomatoes, mushrooms, or lemon all fold in easily at the end.
What Is Skillet Garlic Butter Chicken and Orzo?
Skillet garlic butter chicken and orzo is a one pan dinner built around orzo a small, rice shaped pasta cooked risotto style directly in chicken broth, butter, and garlic, alongside seared chicken breasts or thighs. Instead of boiling the pasta separately, the dry orzo is toasted in the same pan the chicken was cooked in, which lets it absorb all those browned, savory bits before it even hits liquid. It’s part skillet dinner, part stovetop risotto, minus the constant stirring risotto actually demands.
Ingredient Breakdown
Chicken breasts or thighs
Breasts give you a leaner, quicker cooking option; thighs are more forgiving if you’re new to searing and want a wider margin before things dry out. Either works here since the chicken finishes cooking gently in step four.
Orzo
Look for it in the dry pasta aisle, not the rice aisle, even though it looks like rice. Regular semolina orzo is what you want; whole wheat orzo works but will take a couple of extra minutes and a bit more liquid to soften.
Butter
Divided Splitting the butter matters. The first portion toasts the garlic and orzo; the second gets stirred in raw at the end, which is what gives the sauce its glossy, restaurant style finish instead of a flat, oily one.
Garlic Fresh cloves
Garlic Fresh cloves minced, not jarred if you can help it. Jarred garlic has more moisture and burns differently, which matters during the toasting step.
Chicken broth
Chicken broth Low sodium is safer here since the parmesan and any pan seasoning add plenty of salt on their own. Vegetable broth works as a swap if that’s what you have.
Dry white wine (optional)
Adds brightness and helps deglaze the fond off the pan. If you’d rather skip it, a squeeze of lemon juice at the end does something similar.
Parmesan
Parmesan Freshly grated melts smoother than the pre shredded kind, which is coated in anti caking starch that can make the sauce slightly grainy.
Equipment Needed
Large Skillet: A cast-iron skillet is ideal because it retains heat well for searing and browning, but any heavy-bottomed or oven-safe stainless steel skillet works just as well.
Lid or Sheet Pan: You’ll need a lid or a sheet pan to loosely cover the skillet while the orzo simmers, helping it cook evenly and absorb the flavorful broth.
Step by Step Instructions
Step 1: Season and Sear the Chicken
Pat the chicken dry first this isn’t optional if you want an actual sear instead of steamed, pale chicken. Season both sides with Italian seasoning, paprika, salt, and pepper.
Heat olive oil in your skillet over medium high until it shimmers. Lay the chicken in and don’t touch it for a full 4 to 5 minutes. You’ll know it’s ready to flip when it releases from the pan on its own if it’s sticking and tearing, it needs another minute. Flip and repeat on the other side, then pull the chicken out and set it aside it doesn’t need to be fully cooked through yet, since it finishes later in the broth.
Step 2: Toast the Orzo in Garlic Butter
Drop the heat to medium and melt 2 tablespoons of butter in the same skillet, scraping up any browned bits as it melts that’s flavor, not mess. Add the chopped onion and let it soften for a couple of minutes, then stir in the garlic just until it smells fragrant, about 30 seconds. Garlic goes from fragrant to bitter fast, so don’t walk away here.
Pour in the dry orzo and stir it around in the butter until every grain is coated. Let it toast for 2 to 3 minutes, stirring often. You’re watching for a shift from pale white to a light golden color, with a noticeably nuttier smell. This is the step most recipes gloss over, and it’s the one that actually separates good garlic butter orzo from bland buttered pasta.
Step 3: Simmer the Orzo
Pour in the wine, if using, and let it bubble for about a minute while you scrape the pan this lifts the last of the browned bits into the sauce. Add the chicken broth and bring everything to a gentle boil.
Cover, drop the heat to low, and simmer for 10 to 12 minutes. Orzo behaves more like risotto rice than regular pasta here it wants to settle and stick, so give it a stir every few minutes rather than walking away completely. If the pan looks dry before the orzo is tender, splash in more broth; a few extra tablespoons won’t hurt anything.
Step 4: Bring It Together
Nestle the chicken back into the skillet along with whatever juices collected on the plate that’s more flavor you don’t want to lose. Cover and let it warm through for 2 to 3 minutes, just long enough to bring the chicken up to a safe internal temperature of 165°F if it wasn’t quite there yet.
Stir in the remaining tablespoon of butter and the parmesan off the heat. The residual warmth is enough to melt everything into a glossy sauce without breaking it. Taste before you salt again parmesan and broth both bring their own sodium, and it’s easy to over season if you season blind.
Step 5: Garnish and Serve
Finish with chopped parsley and a pinch of red pepper flakes if you want some heat. Serve straight out of the skillet while the sauce is still loose and glossy it thickens fast as it cools.
Expert Tips for Best Results
- Don’t rinse the orzo, ever, in this recipe. The starch clinging to it is what thickens your sauce; rinsing washes that away and leaves you with a thin, separated liquid instead.
- Undercook the orzo slightly if serving isn’t immediate. It keeps absorbing liquid and softening even off the heat, so pulling it just shy of done prevents mush by the time you’re plating.
- Use a splatter guard or partial lid, not a tight seal, while simmering. A fully sealed lid traps too much steam and can make the orzo cook unevenly.
- Taste your broth before you commit to salt levels. Broths vary wildly in sodium between brands, and this dish has three separate salty ingredients broth, parmesan, and any seasoning blend.
Common Mistakes to Avoid
Skipping the toasting step. Adding orzo straight to liquid without toasting it in butter first is the single biggest reason people end up with a flat tasting version of this dish.
Walking away while it simmers. Orzo is technically pasta, not rice, and it settles to the bottom of the pan fast. A few minutes of neglect is often all it takes to scorch the bottom layer.
Overcooking the chicken during the sear. Since it finishes cooking later in the broth, searing it fully at step one almost guarantees dry chicken by the time it’s plated.
Not having extra broth on hand. Orzo absorbs liquid unpredictably depending on your pan and stove, and running dry with pasta still firm is a common last minute scramble.
Variations and Customizations
- Creamy version: Stir in a splash of heavy cream along with the parmesan for a richer, more velvety sauce.
- Vegetable loaded: Fold in baby spinach, halved cherry tomatoes, or sautéed mushrooms during the last few minutes of simmering.
- Lemon garlic butter: Add lemon zest and a squeeze of juice at the end for a brighter, tangier finish especially good if you skipped the wine.
- Spicy: Add a diced jalapeño with the garlic, or double up on red pepper flakes at the end.
- Gluten free: Swap orzo for a gluten free small pasta shape, or use rice with adjusted liquid and simmer time.
Best Side Dishes / What to Serve With It
This dish is filling enough on its own, but a simple side rounds it out:
- A green salad with a sharp lemon vinaigrette to cut through the richness
- Roasted broccoli or asparagus
- Garlic bread, mainly because there will be sauce left in the pan worth mopping up
- The same dry white wine you cooked with, if you have a glass left over
Storage Instructions
Store leftovers in an airtight container in the fridge for up to 3 days. Orzo continues to absorb liquid as it sits, so don’t be surprised if it looks thicker the next day that’s normal, not a sign it’s gone bad.
Reheating Instructions
Reheat gently on the stovetop over low heat with a splash of broth or water stirred in to loosen the sauce back up. The microwave works too reheat in short bursts, stirring in between, rather than one long blast that can turn the edges rubbery.
Frequently Asked Questions
Why is my orzo mushy?
Orzo turns mushy when it’s overcooked or left simmering too long after it’s absorbed its liquid. Cook it just until al dente, pull it off the heat slightly early if it won’t be served immediately, and avoid rinsing it, since the starch on the surface is what thickens the sauce rather than making it soggy.
Can I use chicken thighs instead of chicken breasts?
Yes. Boneless, skinless thighs work well and tend to stay juicier through the extra simmer time. They’re slightly thinner than breasts in most cases, so check for doneness a minute or two earlier during the sear.
What can I substitute for orzo?
Small pasta shapes like ditalini or pearl couscous are close substitutes. Rice can also work, though you’ll need to adjust both the liquid amount and the cook time since rice absorbs differently than pasta.
Do I need to use wine in this recipe?
No wine adds brightness and helps lift browned bits off the pan, but a squeeze of lemon juice at the end achieves a similar effect without alcohol. You can also just add a bit more broth in its place.
Is this recipe gluten free?
Not as written, since regular orzo is a wheat pasta. Swapping in a gluten free pasta shape or rice makes the dish gluten free with only minor adjustments to liquid and timing.
How do I know the chicken is fully cooked?
Use an instant read thermometer and check that the thickest part of the chicken reads 165°F. Since the chicken finishes cooking during the simmer step, don’t rely on the sear alone to judge doneness.
Final Thoughts
This skillet garlic butter chicken and orzo recipe earns its spot in a weeknight rotation mostly because it’s forgiving the toasting step is the only part that really needs your attention, and everything after that is mostly hands off simmering. Once you’ve made it once and seen how the orzo turns from dry grains into a glossy, garlicky sauce, it’s hard not to reach for this pan again the next time you want dinner to feel like more effort than it actually was.
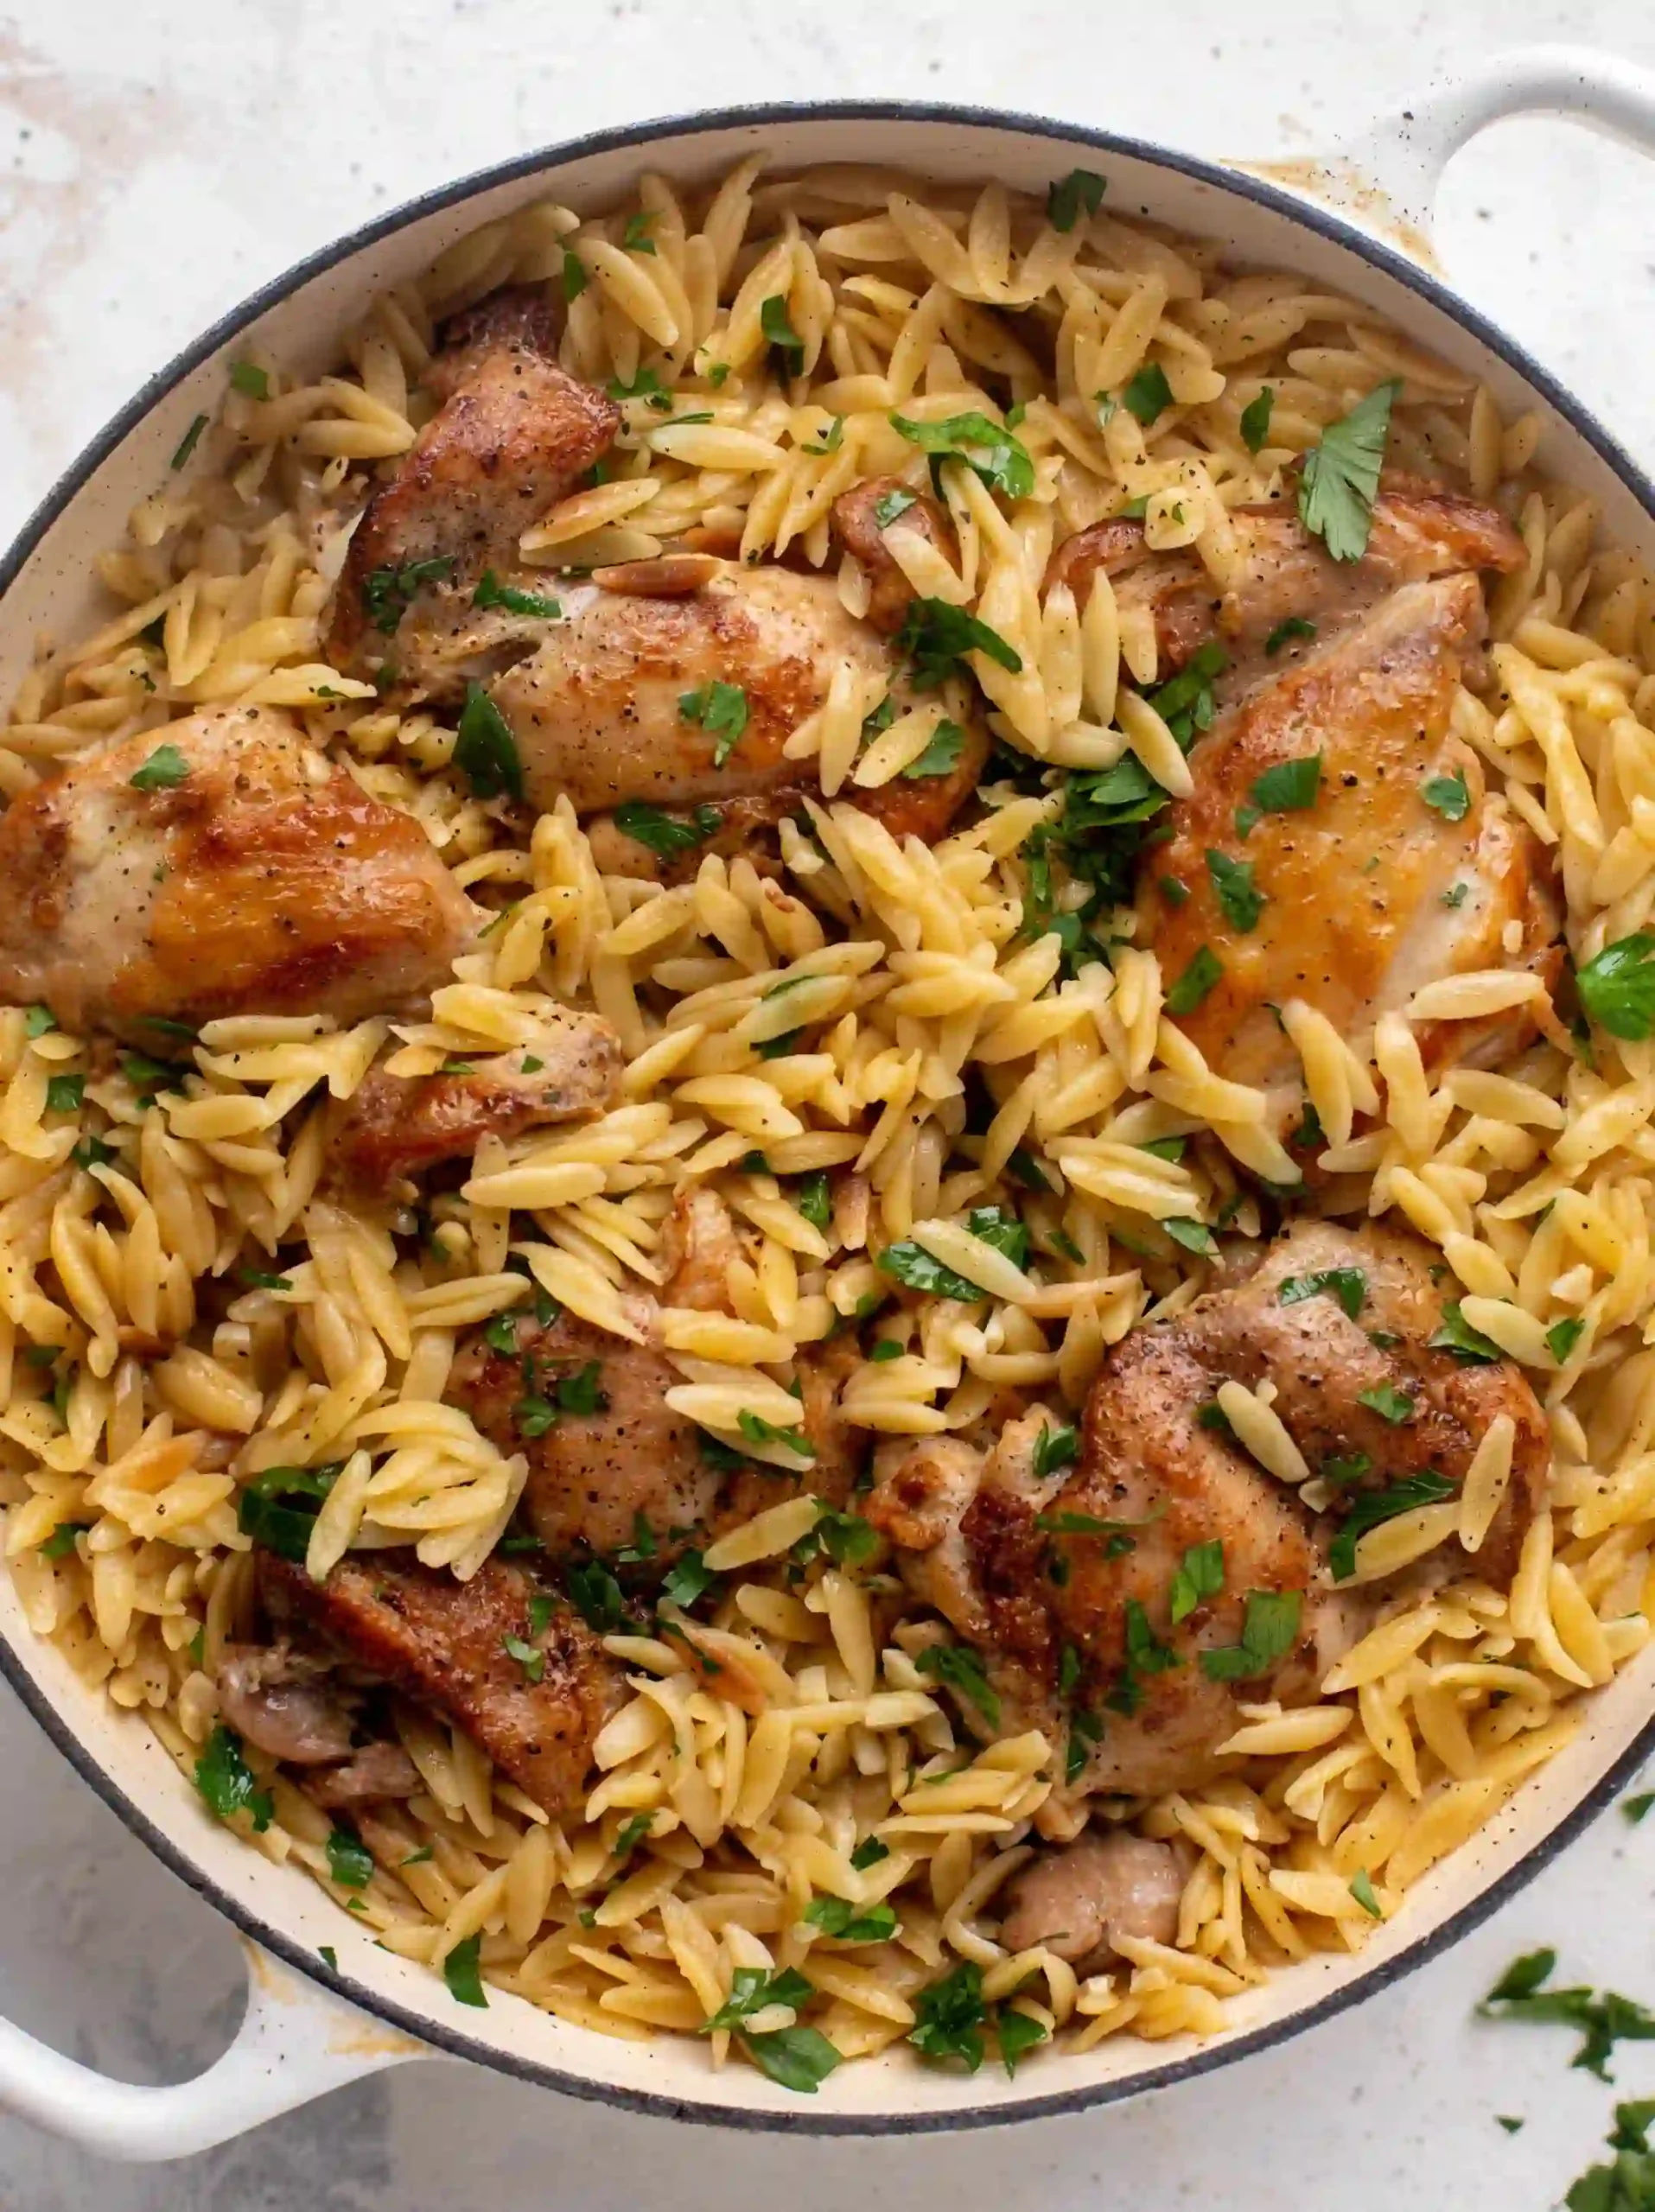
Skillet Garlic Butter Chicken and Orzo
Notes
- 2 boneless, skinless chicken breasts (or 4 chicken thighs)
- 1 tbsp olive oil
- 1 tsp Italian seasoning
- ½ tsp paprika
- ½ tsp salt
- ¼ tsp black pepper
- 3 tbsp butter, divided
- 1 small onion or shallot, finely chopped
- 4 garlic cloves, minced
- 1 cup dry orzo pasta
- 2 to 2½ cups chicken broth
- ¼ cup dry white wine (optional)
- ¼ cup grated parmesan cheese
- 2 tbsp fresh parsley, chopped
- Red pepper flakes, optional
- Pat chicken dry, season with Italian seasoning, paprika, salt, and pepper. Sear in olive oil over medium high heat, 4 5 minutes per side, until golden. Remove and set aside.
- In the same skillet, melt 2 tbsp butter over medium heat. Cook onion 2 3 minutes until soft, then garlic for 30 seconds until fragrant. Add orzo and toast 2 3 minutes, stirring, until lightly golden.
- Deglaze with wine, simmer 1 minute, then add chicken broth. Bring to a boil, cover, reduce heat to low, and simmer 10 12 minutes, stirring occasionally, until orzo is tender.
- Nestle chicken back into the skillet with its juices. Cover and warm through 2 3 minutes until chicken reaches 165°F. Stir in remaining butter and parmesan until creamy.
- Garnish with parsley and red pepper flakes. Serve hot from the skillet.
- Don’t rinse the orzo the starch is what thickens the sauce.
- Undercook the orzo slightly if not serving immediately, since it keeps softening off the heat.
- Store leftovers in the fridge up to 3 days; reheat with a splash of broth to loosen the sauce.