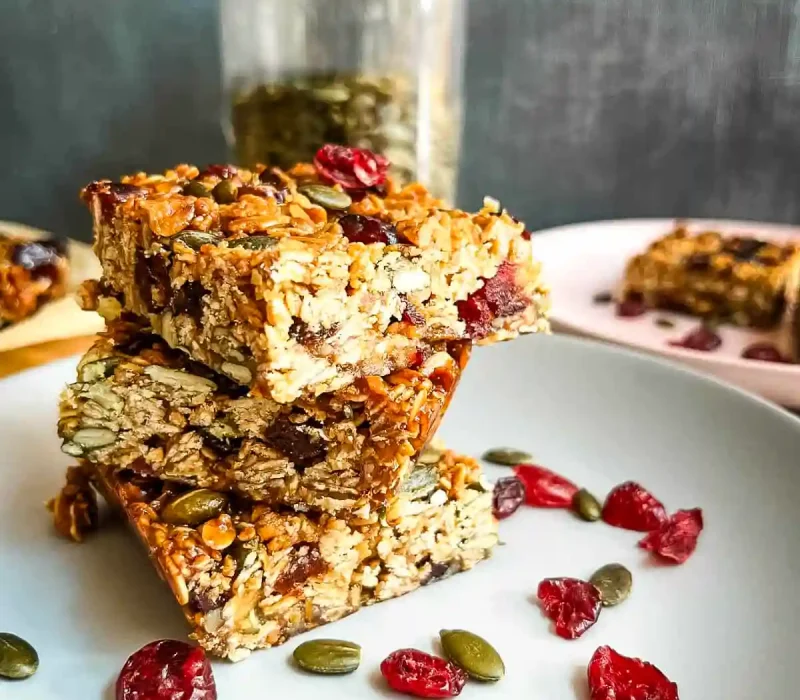
Healthy granola flapjack Recipe are chewy baked oat bars made with rolled oats, honey, nut butter, seeds, and dried fruit, no refined sugar.
A traditional British flapjack leans hard on butter, sugar, and golden syrup, delicious, but rich enough that it’s really a treat rather than something you’d reach for daily. This version keeps the same chewy, hearty texture but swaps in honey and nut butter as the binder, oats and granola as the base, and seeds, nuts, and dried fruit for texture, so it works just as well as a breakfast bar or lunchbox snack as it does with a cup of tea.
KEY TAKEAWAYS
- Honey isn’t just the sweetener here, it’s the binder, and it’s what keeps these bars chewy for days instead of turning stale and crumbly like sugar bound bars can
- Pressing the mixture firmly and evenly into the pan matters more than almost any other step, a loosely packed mixture will bake fine but fall apart the moment you slice it
- Pull these from the oven when the edges are golden and the center still looks a little soft, they firm up entirely as they cool
- A full 30 to 45 minutes of cooling is the minimum, chilling for an hour or two after that gives noticeably cleaner slices
- Rolled oats, not quick oats, should make up the bulk of the mix, quick oats alone bind faster but leave the bars soft and cake like instead of properly chewy
A Short History of the Flapjack
The word flapjack is older than the oat bar it now describes. According to Wikipedia, the Oxford English Dictionary records “flapjack” being used as early as the beginning of the 16th century, though at that point it referred to a flat tart rather than anything oat based.
The baked bar of rolled oats, fat, and syrup that the word describes today, similar to a granola bar, didn’t become the dominant meaning of the term until much later. That’s also why the word means something completely different depending which side of the Atlantic you’re on in the UK it’s this chewy oat bar, in the US and Canada, “flapjack” is just another word for a pancake.
Why This Recipe Works
The biggest difference between a Granola Flapjack Recipe that holds together and one that crumbles apart comes down to the binder, and that’s where honey earns its place here beyond just sweetness. Honey is highly hygroscopic, meaning it actively attracts and holds onto water. That property is what keeps honey bound bars soft and chewy days after baking, while bars bound mostly with dry sugar tend to firm up and turn brittle much faster.
Combining honey with a nut butter adds fat and a second binding agent, which is why this version holds together well even with a relatively modest amount of honey. The other half of the equation is pressure: packing the mixture firmly into the pan before baking is what actually determines whether the oats fuse into a solid bar or stay loose enough to fall apart when sliced.
Ingredient Notes For Granola Flapjack Recipe
Rolled oats: These should make up the bulk of the mix. They hold their shape and give the bars a proper chewy bite. Quick oats work in a smaller supporting amount, but using only quick oats makes for a softer, less textured bar.
Granola: Adds extra crunch and flavor on top of the oats. Break up any large clusters first so the mixture presses together evenly.
Honey: Both the sweetener and the primary binder. Warm it gently with the nut butter and coconut oil or butter before mixing, so it coats the dry ingredients evenly instead of pooling.
Nut butter: Adds richness and helps bind the mixture without relying on honey alone. Natural, no stir peanut or almond butter works well; for a nut free version, sunflower seed butter is the standard swap.
Seeds, nuts, and dried fruit: These add texture and natural sweetness. Chop larger pieces down so the bars slice cleanly instead of crumbling around big chunks.
How to Make Healthy Granola Flapjacks Recipe
Step 1: Prep the pan and oven. Preheat the oven to 350°F (175°C). Line an 8 inch square pan with parchment paper, leaving some overhang on two sides to lift the bars out later.
Step 2: Warm the binder. In a small saucepan over low heat, warm the honey, nut butter, and coconut oil or butter together, stirring until smooth. Don’t let it boil, high heat can thicken the honey and throw off the texture.
Step 3: Mix the dry ingredients. In a large bowl, combine the rolled oats, quick oats, granola, seeds, nuts, dried fruit, cinnamon, and salt.
Step 4: Combine. Pour the warm honey mixture over the dry ingredients along with the vanilla, and stir until everything is evenly coated and looks slightly glossy. If you spot dry oats sitting at the bottom of the bowl, keep mixing, they need full coverage to bind properly.
Step 5: Press firmly. Spoon the mixture into the prepared pan and press it down hard into an even layer, using the back of a spoon or the bottom of a measuring cup. Push into the corners. This is the single most important step for bars that slice cleanly instead of crumbling.
Step 6: Bake. Bake for 18 to 22 minutes, until the edges are lightly golden. The center will still look a little soft, that’s expected, it firms up as the bars cool.
Step 7: Cool completely. Let the bars cool in the pan for at least 30 to 45 minutes before lifting them out. For the cleanest slices, chill the fully cooled pan for another hour or two before cutting.
Common Problems and Fixes
| Problem | Likely Cause | Fix |
| Bars fell apart when sliced | Mixture wasn’t pressed firmly enough, or cut too early | Press hard into every corner before baking; cool at least 30 to 45 minutes, longer for the cleanest cuts |
| Bars turned out dry and crumbly | Too little honey or nut butter relative to the oats | Make sure the mixture looks evenly coated and glossy, not dry, before pressing into the pan |
| Bars were overly sticky and wouldn’t set | Too much honey used | Stick to the stated amount, honey is a binder here, not just a sweetener, and too much prevents proper setting |
| Center stayed raw or gummy | Underbaked, or oven ran cool | Bake until the edges are lightly golden; the center firms up as it cools, but a truly wet center means more time is needed |
| Bars tasted dry after a day or two | Overbaked, pushing out too much moisture | Pull the pan once edges are golden, not deep brown, and don’t wait for the center to look fully set in the oven |
Storage
Once fully cooled, store the bars in an airtight container at room temperature for 3 to 4 days, placing parchment between layers so they don’t stick together. If your kitchen runs warm, or the bars include extra nut butter or chocolate, the fridge is the safer bet and extends things to about a week. For longer storage, wrap bars individually and freeze for up to 2 months, thawing overnight in the fridge or at room temperature for an hour or so.
Variations to Try
- Nut free: Swap the nut butter for sunflower seed butter and use pumpkin or sunflower seeds in place of chopped nuts, a straightforward lunchbox safe version
- No added sugar beyond honey: Choose a granola without added sugar and unsweetened dried fruit to keep the whole bar naturally sweetened
- Higher protein: Add a couple tablespoons of vanilla protein powder, starting small since too much can dry the bars out, and add a splash of milk if the mixture turns powdery
- Chocolate chip: Fold in dark chocolate chips once the honey mixture has cooled slightly, so they don’t melt into the mix before baking
If you like oat based bars, our Oatmeal Chocolate Chip Cookie Bars use a similar press and bake approach with a sweeter, more dessert leaning flavor.
Serving Suggestions
Pair a bar with Greek yogurt and fresh fruit for breakfast, or with a smoothie for a post workout snack. They’re sturdy enough to pack for school or work without falling apart in a lunch bag. For a weekend breakfast spread, our Fluffy Chocolate Pancakes make a good pairing if you want something warm alongside a grab and go bar for the rest of the week.
Frequently Asked Questions
Why are my granola flapjacks falling apart?
Almost always one of three things: the mixture wasn’t pressed firmly enough into the pan, it was cut before fully cooling, or there wasn’t enough honey and nut butter to bind the oats properly. Press hard into every corner and let the bars cool completely before slicing.
Can I make these without refined sugar?
Yes, as written this recipe uses only honey as a sweetener. Choose a granola and dried fruit without added sugar to keep the entire bar free of refined sugar.
Can I use golden syrup instead of honey?
Yes, though honey’s hygroscopic properties keep bars chewier for longer than golden syrup does, so bars made with syrup may firm up a bit faster after a day or two.
Are these good for kids’ lunchboxes?
Yes, especially the nut free version made with sunflower seed butter and seeds instead of chopped nuts. Always check your school’s specific allergy policy before packing any nut or seed products.
Can I freeze these granola flapjacks?
Yes, wrap fully cooled bars individually and freeze for up to 2 months. Thaw overnight in the fridge or at room temperature for about an hour.
Can I use quick oats instead of rolled oats?
You can use some quick oats, but rolled oats should still make up most of the mix. An all quick oats bar binds easily but comes out softer and less chewy than a properly textured flapjack.
Conclusion
Getting these right comes down to two things enough honey and nut butter to actually bind the oats, and pressing the mixture firmly enough that it holds together once baked. Everything else, the seeds, nuts, dried fruit, granola, is really just customization on top of that foundation. Get the ratio and the pressing right, and you’ve got a chewy, portable snack that keeps well for days without turning dry or falling apart
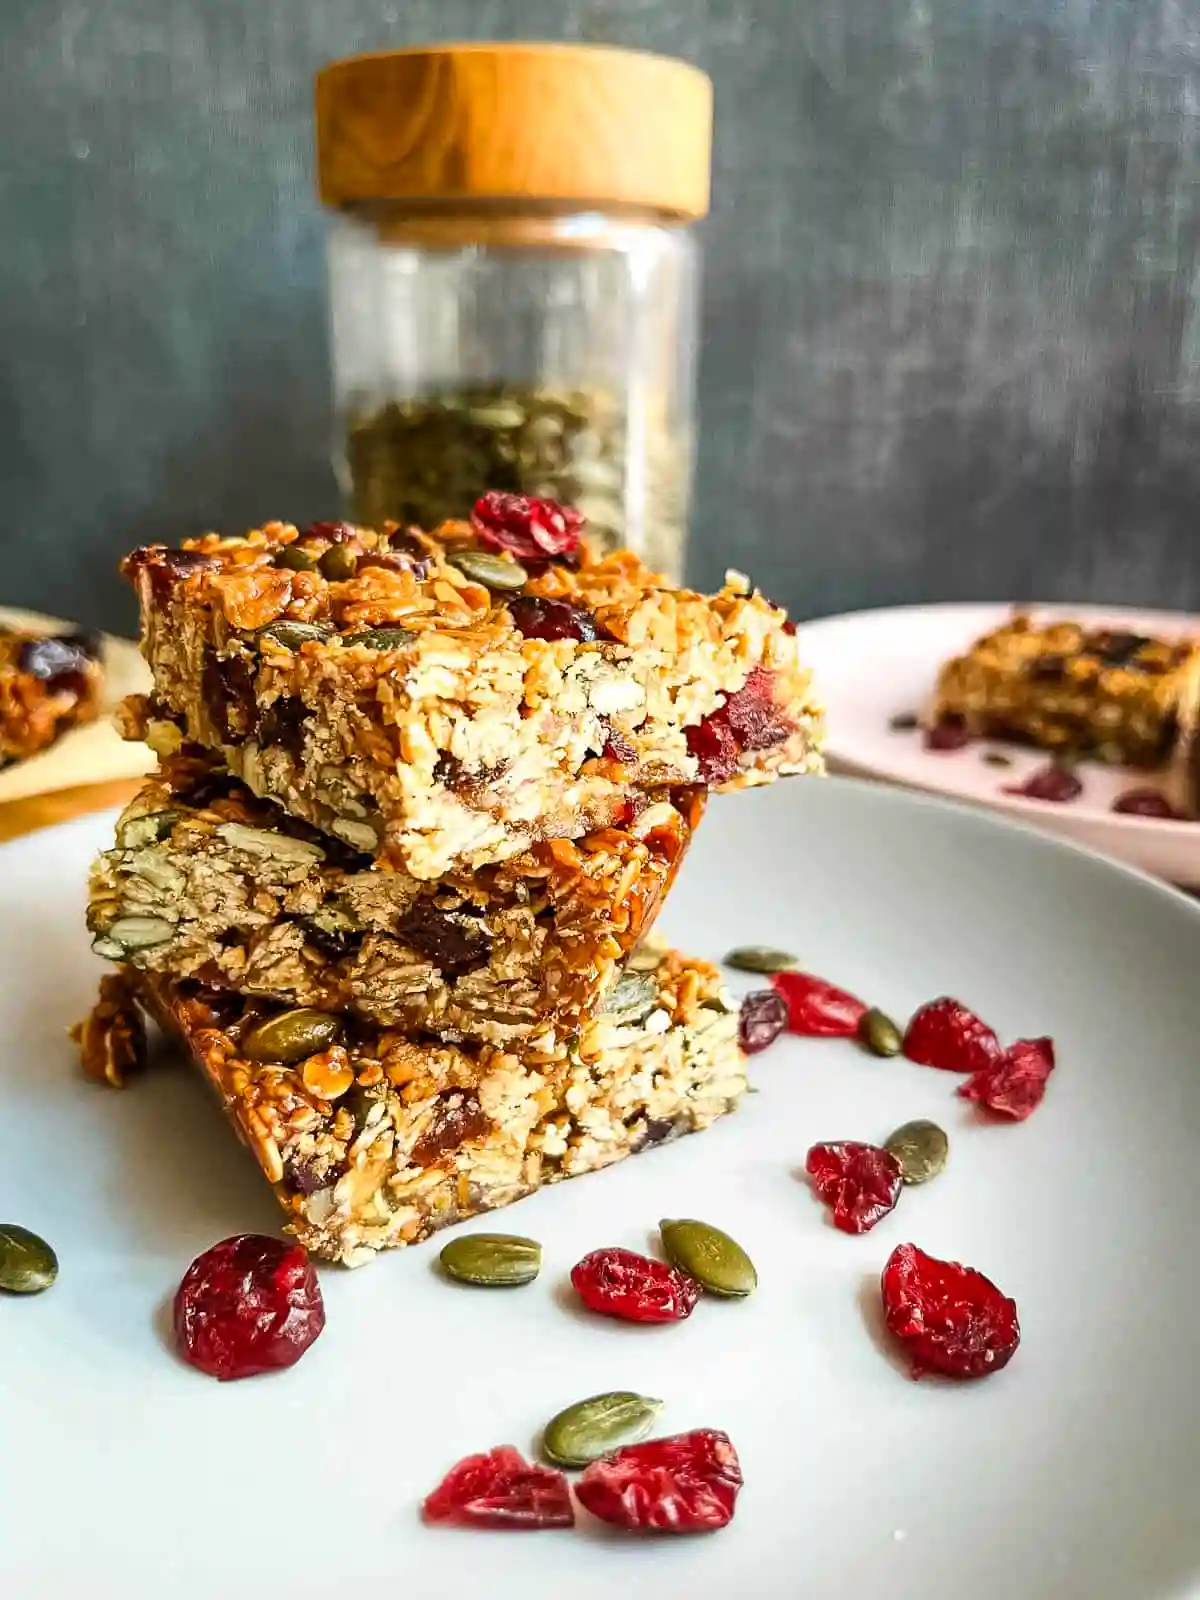
Healthy Granola Flapjacks Recipe
Notes
- 2 cups (180g) rolled oats
- 1 cup (100g) granola, large clusters broken up
- ⅓ cup (75g) coconut oil or unsalted butter
- ⅓ cup (115g) honey
- ¼ cup (65g) natural peanut or almond butter
- ⅓ cup (50g) mixed seeds (pumpkin, sunflower, chia)
- ⅓ cup (40g) chopped nuts (almonds or walnuts), or omit for nut free
- ⅓ cup (50g) dried fruit, chopped (raisins, cranberries, or dates)
- 1 tsp ground cinnamon
- 1 tsp vanilla extract
- ¼ tsp salt
- Preheat oven to 350°F (175°C). Line an 8 inch square pan with parchment paper, leaving overhang on two sides.
- Warm the honey, nut butter, and coconut oil or butter together in a small saucepan over low heat until smooth. Don’t let it boil.
- In a large bowl, combine the oats, granola, seeds, nuts, dried fruit, cinnamon, and salt.
- Pour the warm honey mixture and vanilla over the dry ingredients. Stir until evenly coated and glossy.
- Spoon into the prepared pan and press down firmly into every corner.
- Bake 18 to 22 minutes, until the edges are lightly golden. The center will still look soft, that’s normal.
- Cool in the pan at least 30 to 45 minutes before lifting out. Chill an additional hour or two for the cleanest slices, then cut into bars.