This post contains affiliate links. As an Amazon Associate, I earn from qualifying purchases at no extra cost to you.
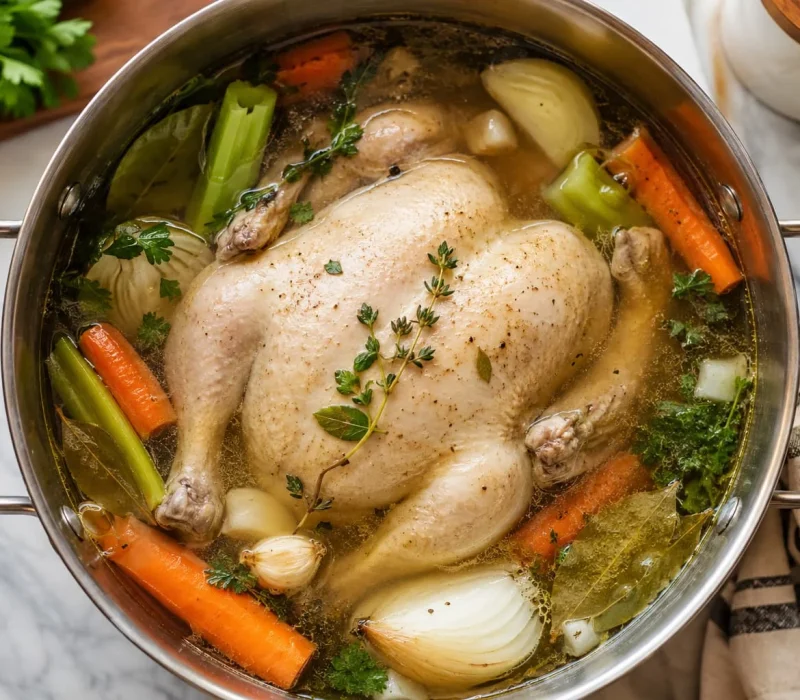
Jump to RecipeA whole chicken takes 60 to 90 minutes to simmer gently, 60 to 70 for a smaller bird, 80 to 90 for a larger one, until it hits 165°F (the safe minimum internal temperature).
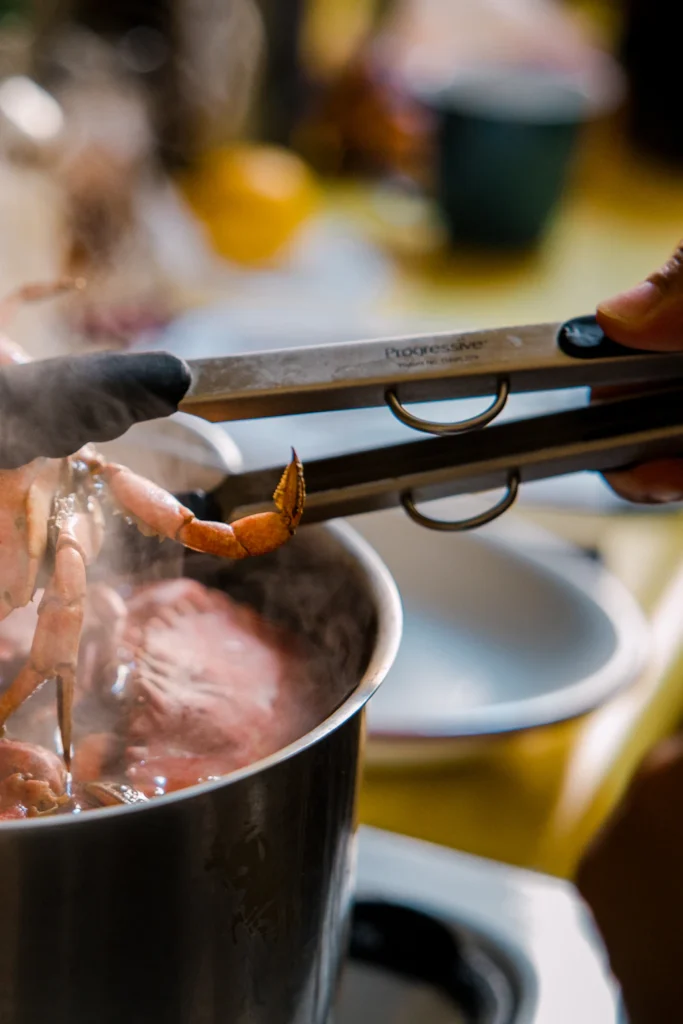
How Long to Boil a Whole Chicken is one of those old, dependable kitchen techniques that does two things at once: it gives you tender, versatile cooked meat and a rich homemade broth, both from one pot. The timing depends mostly on the bird’s weight, but the bigger factor in how it turns out is temperature control, a hard boil and a gentle simmer produce noticeably different results from the exact same chicken.
KEY TAKEAWAYS
- Simmer, don’t boil, a rolling boil tightens the muscle fibers and leaves you with firmer meat and a cloudier broth than a gentle simmer will
- A 2 to 3 pound chicken takes about 60 to 70 minutes; a 4 to 5 pound bird needs 80 to 90, always confirm with a thermometer rather than the clock alone
- Starting the chicken in cold water, not hot, lets it heat gradually and pulls more flavor into the broth as it goes
- 165°F in the thickest part of the thigh, away from the bone, is the only reliable sign of doneness, visual cues like clear juices are useful backup, not a replacement
- Letting the chicken rest 10 to 15 minutes before carving or shredding keeps the juices in the meat instead of on the cutting board
A Short History of the Chicken in the Pot
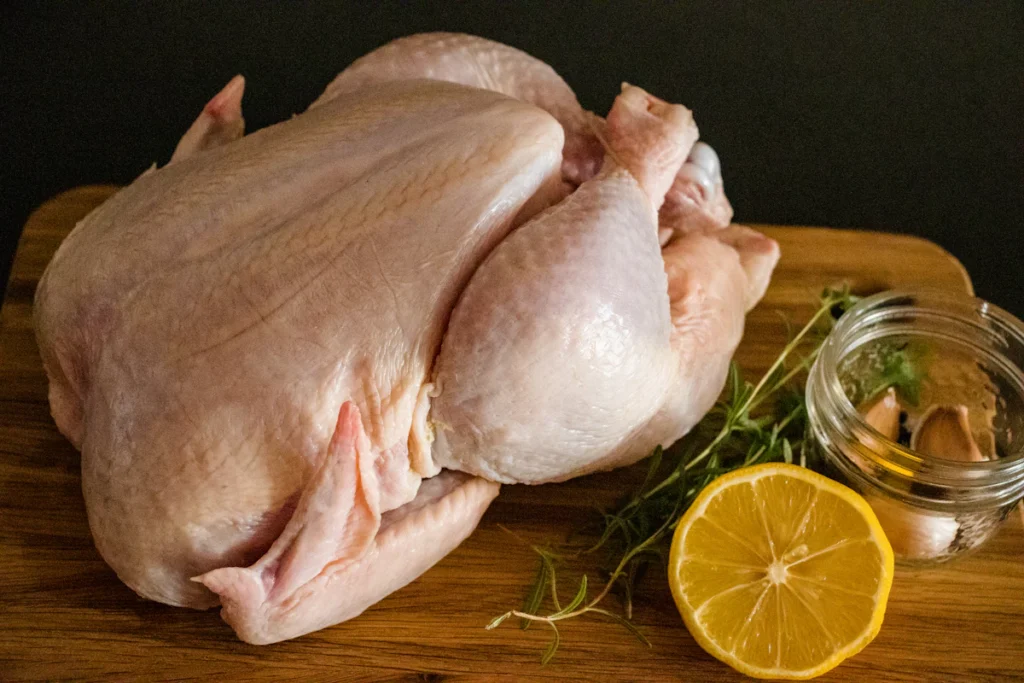
Boiling a whole chicken with vegetables and herbs is a technique far older than any specific recipe, but France’s version of it has a particularly famous story attached. According to Wikipedia, poule au pot, “chicken in a pot,” is a traditional dish from the Béarn region of southwestern France, made by boiling a whole chicken and then simmering it in stock with vegetables like carrots, leeks, onions, and celery. The dish is closely associated with King Henry IV of France, who is said to have wished that every family in his kingdom could afford a chicken in the pot every Sunday.
Historians note that the quote likely wasn’t recorded until decades after Henry IV’s death, so its authenticity is genuinely uncertain, but the sentiment stuck so well that it later resurfaced as a political slogan on both sides of the Atlantic, including in a 1928 U.S. presidential campaign. Whatever the truth of the quote, it says something that a technique this simple, chicken, water, vegetables, time, has carried royal associations for centuries.
Why Simmering Beats Boiling
This is the one piece of advice that matters more than any specific timing chart. America’s Test Kitchen explains that simmering, rather than boiling, is generally preferred for exactly this kind of cooking: the gentler agitation means delicate proteins don’t get knocked around as violently, so fats and soluble proteins in the liquid don’t coagulate and cloud the broth the way they do at a hard boil.
The same gentler heat is kinder to the chicken’s muscle fibers, which tighten and squeeze out moisture more aggressively at a rolling boil than they do at a bare simmer. That’s the whole reason “boiled chicken” is really a bit of a misnomer, what you actually want is a pot that’s just barely bubbling.
Whole Chicken Boiling Time Chart
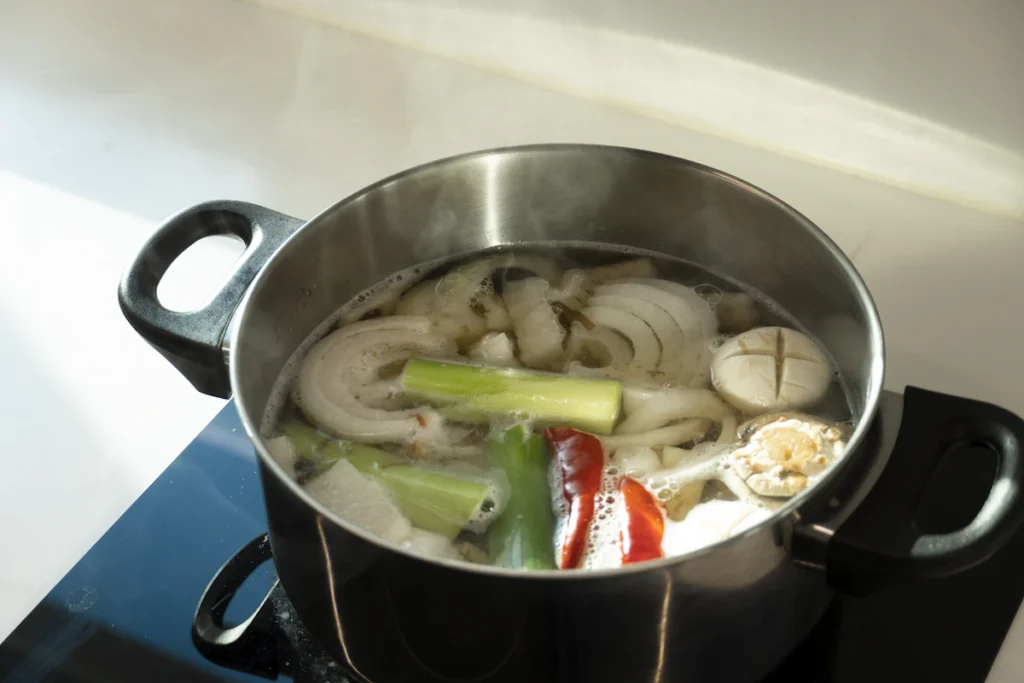
| Chicken Weight | Simmering Time | Safe Internal Temperature |
| 2 to 3 lb | 60 to 70 minutes | 165°F (74°C) |
| 3 to 4 lb | 70 to 80 minutes | 165°F (74°C) |
| 4 to 5 lb | 80 to 90 minutes | 165°F (74°C) |
| 5 to 6 lb | 90 to 100 minutes | 165°F (74°C) |
These times start once the water has returned to a gentle simmer after adding the chicken, not from when it first goes into the pot. Treat this chart as a starting point and confirm doneness with a thermometer, not the clock alone.
How Long to Boil a Whole Chicken
Step 1: Prep the chicken. Remove the chicken from its packaging, check the cavity for the neck and giblets, and pat it dry with paper towels. There’s no need to rinse raw chicken first, patting it dry is enough, and rinsing just risks splashing bacteria around your sink.
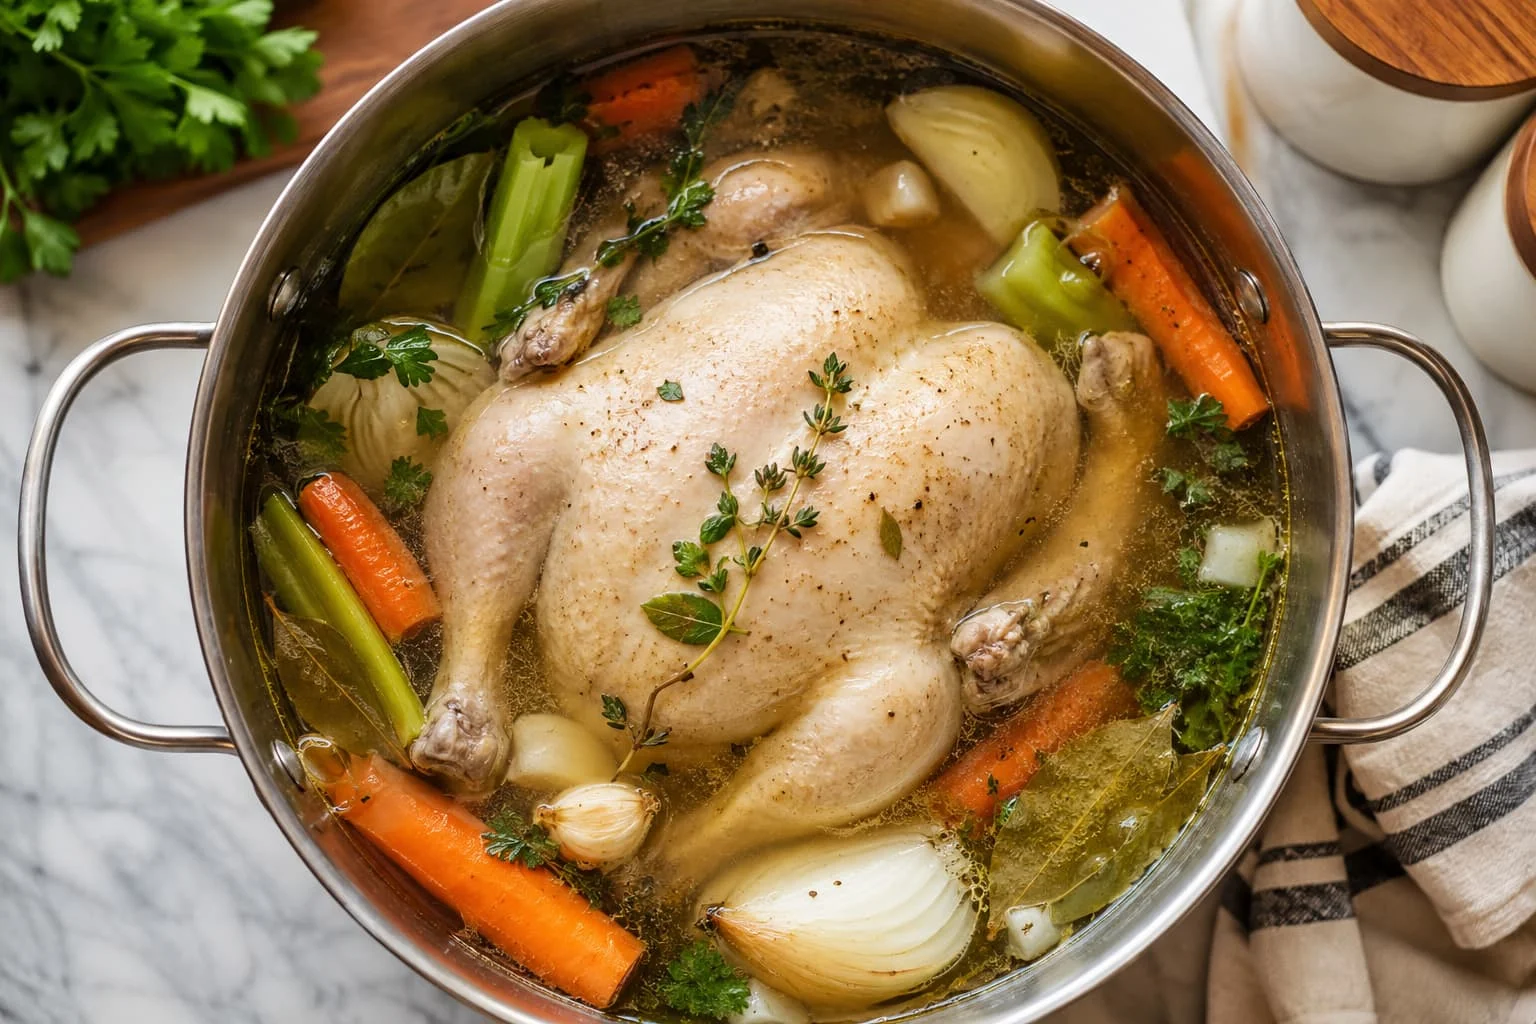
Step 2: Add the chicken and aromatics. Place the chicken in a large stockpot or Dutch oven. Add a quartered onion, roughly chopped celery and carrots, a few crushed garlic cloves, bay leaves, parsley and thyme sprigs, whole peppercorns, and salt.
Step 3: Cover with cold water. Pour in enough cold water to cover the chicken by about an inch, leaving some room at the top of the pot. Starting cold, rather than with hot water, lets everything heat gradually and pulls more flavor into the broth as it goes.
Step 4: Bring to a boil, then drop to a simmer. Bring the pot to a boil over medium high heat. Skim off any foam that rises to the surface if you want a cleaner looking broth, it’s just released protein and isn’t a food safety concern either way. Once boiling, immediately lower the heat until the liquid is only just barely bubbling.
Step 5: Simmer until done. Keep the pot partially covered and let it simmer for the time listed in the chart above, based on the chicken’s weight. Start checking a few minutes early.
Step 6: Check for doneness. Insert a meat thermometer into the thickest part of the thigh, avoiding the bone. It’s done at 165°F. If it reads lower, return it to the pot and check again in 5 to 10 minutes rather than cranking up the heat to speed things along.
Step 7: Rest before carving. Lift the chicken out and let it rest on a cutting board for 10 to 15 minutes before carving or shredding. This gives the juices time to redistribute through the meat instead of running out onto the board the moment you cut into it.
Common Problems and Fixes
| Problem | Likely Cause | Fix |
| Chicken came out tough or rubbery | Water was at a rolling boil instead of a gentle simmer | Lower the heat the moment it reaches a boil; aim for just a few small bubbles breaking the surface |
| Broth turned out cloudy | Vigorous boiling, or foam wasn’t skimmed | Simmer gently rather than boiling hard; skim the foam early on if a clear broth matters to you |
| Chicken undercooked at the estimated time | Bird was larger than expected, or water temperature dipped | Always confirm with a thermometer; return to a simmer and recheck every 5 to 10 minutes if needed |
| Meat dried out | Chicken was left simmering well past 165°F | Remove it as soon as it hits temperature, further cooking doesn’t add safety, just dryness |
| Broth tasted bland | Water wasn’t seasoned from the start | Season the cooking liquid itself, not just the finished chicken, so flavor builds throughout cooking |
Food Safety and Doneness
Time and weight charts are a useful starting point, but they’re estimates, not guarantees. The USDA’s safe minimum internal temperature chart lists 165°F as the safe minimum for all poultry, checked with a food thermometer in the innermost part of the thigh and the thickest part of the breast. Clear juices and a leg that moves easily at the joint are helpful supporting signs, but they shouldn’t replace an actual temperature check.
If you’re starting from frozen, expect to add 20 to 30 minutes to the total time, and never let a partially cooked chicken cool down with the plan to finish it later, that gives any bacteria present a window to grow. Once cooked, refrigerate the meat within 2 hours (1 hour if your kitchen is above 90°F), and use it within 3 to 4 days, or freeze for 3 to 4 months.
What to Do With Boiled Chicken
Once the chicken has rested, pull the meat from the bones while it’s still slightly warm, it shreds more easily than once fully cooled. From there, it’s genuinely one of the most versatile proteins to have on hand:
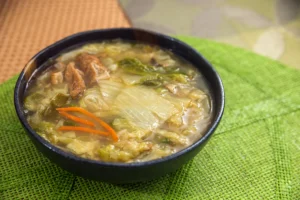
- Soup: Return the shredded meat to the broth you just made, along with noodles, rice, or vegetables. Our Creamy Chicken Noodle Soup is a natural next step if you want to put both the chicken and the broth to use in the same pot.
- Salads: Diced or shredded chicken works well in a pasta salad or tossed with a dressing, like our Chicken Pasta Salad.
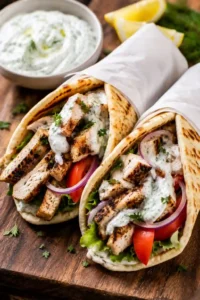
- Wraps and tacos: Warmed with seasoning and rolled into tortillas or lettuce leaves, like our Thai Chicken Lettuce Wraps or Quick and Easy Chicken Burritos.
- Casseroles: Already cooked and tender, boiled chicken folds easily into a creamy bake without turning tough.
- Meal prep: Portion it out with rice, roasted vegetables, or a salad for ready to eat lunches through the week.
Kitchen Tools That Make This Easier
- Large stockpot: for pasta, soups and stews.
- Instant read meat thermometer: so you know exactly when the meat is done.
- Kitchen tongs: for flipping and serving.
- Colander: for draining pasta and vegetables.
- Glass meal prep containers: for storing leftovers.
Frequently Asked Questions
Can I boil a frozen whole chicken?
Yes, but it needs continuous cooking until it reaches a safe temperature, add roughly 20 to 30 minutes to the time for a thawed bird of the same weight. Never let a partially cooked chicken cool down with plans to finish it later, that’s a food safety risk.
Should the pot be covered or uncovered?
Partially covered works best for most purposes, it keeps a steady simmer without letting too much liquid evaporate. If you want a more concentrated broth, uncover the pot for the last 20 to 30 minutes so some liquid can reduce.
How do I know the chicken is done without a thermometer?
The leg should move easily at the joint, the juices should run clear rather than pink, and the meat should pull away from the bone without resistance. These are helpful backup signs, but a thermometer reading 165°F in the thickest part of the thigh is the only truly reliable check.
Why did my broth turn out cloudy?
Almost always a rolling boil rather than a gentle simmer. Vigorous bubbling knocks proteins and fat around more aggressively, clouding the liquid. Skimming the foam early in cooking also helps keep it clear.
Can I overcook a boiled chicken?
Yes. Once it hits 165°F, continuing to simmer it won’t improve food safety, it will just dry out the meat and dull the broth’s flavor. Pull it as soon as it reaches temperature.
What should I do with the broth?
Strain it and use it for soups, sauces, gravies, or rice dishes, or freeze it for later. It’s built up flavor from the chicken, vegetables, and herbs over the full simmering time, so it’s worth keeping rather than discarding.
More easy dinner ideas: homemade chicken and dumplings, creamy chicken and gnocchi soup and chicken pot roast.
Conclusion
The timing chart gets you close, but the real skill here is temperature control: bring the pot to a boil, then immediately back it off to a bare simmer and leave it there. That single habit is the difference between tender, shreddable chicken with a clear, flavorful broth, and a tougher bird sitting in a cloudy pot. Once you’ve got a batch done, it’s one of the most useful things to have in the fridge for the rest of the week.
Boiled Whole Chicken
Notes
- 1 whole chicken (2 to 6 lb)
- 1 large yellow onion, quartered
- 2 celery stalks, cut into large pieces
- 2 medium carrots, cut into large chunks
- 4 garlic cloves, lightly crushed
- 2 bay leaves
- 3 to 4 sprigs fresh parsley
- 2 to 3 sprigs fresh thyme
- 1 tsp whole black peppercorns
- 1 to 2 tsp salt
- Cold water, to cover
- Pat the chicken dry and check the cavity for giblets. Place it in a large stockpot or Dutch oven.
- Add the onion, celery, carrots, garlic, bay leaves, parsley, thyme, peppercorns, and salt.
- Cover with cold water by about 1 inch, leaving room at the top of the pot.
- Bring to a boil over medium high heat, skimming any foam if desired.
- Immediately reduce heat to a gentle simmer. Cover partially and simmer according to the chart above, based on weight.
- Check the thickest part of the thigh with a thermometer; it’s done at 165°F.
- Remove the chicken and rest 10 to 15 minutes before carving or shredding. Strain and reserve the broth.