This post contains affiliate links. As an Amazon Associate, I earn from qualifying purchases at no extra cost to you.
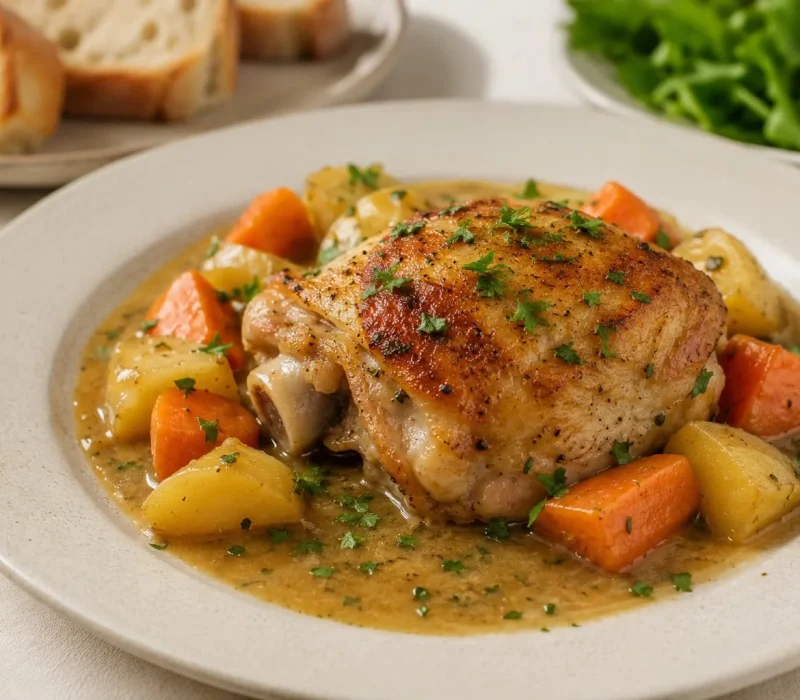
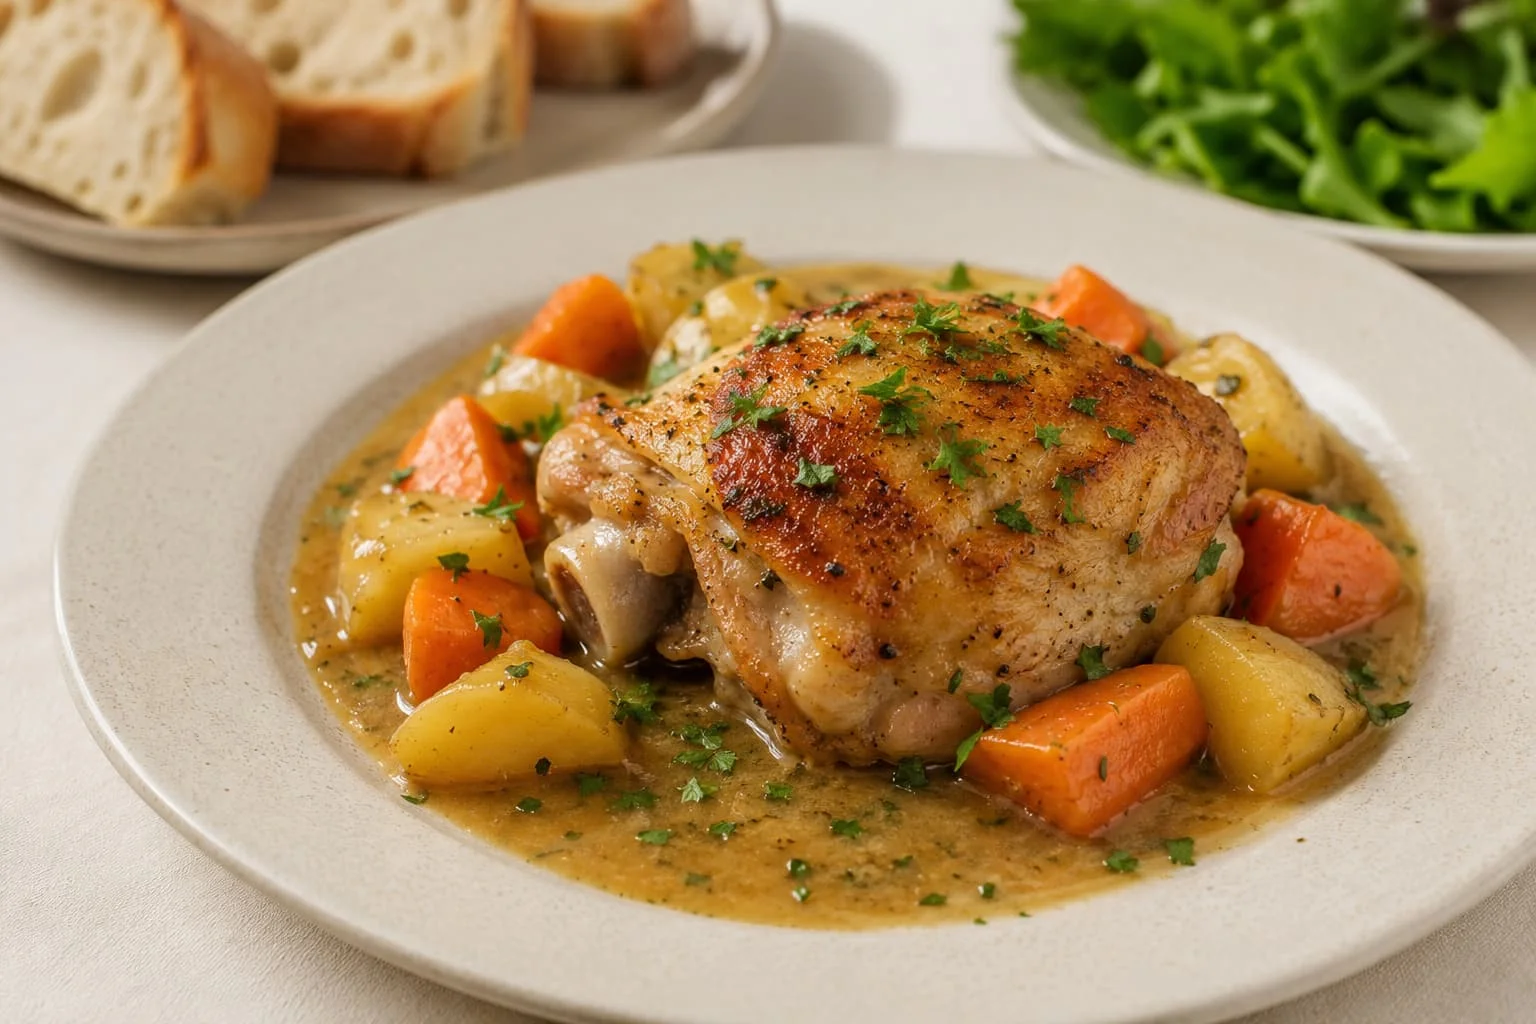
Jump to RecipeChicken pot roast is a one pot dinner of browned bone in chicken thighs roasted skin side up over potatoes and carrots in a savory homemade gravy, giving you tender chicken, hearty vegetables, and sauce all from a single Dutch oven.
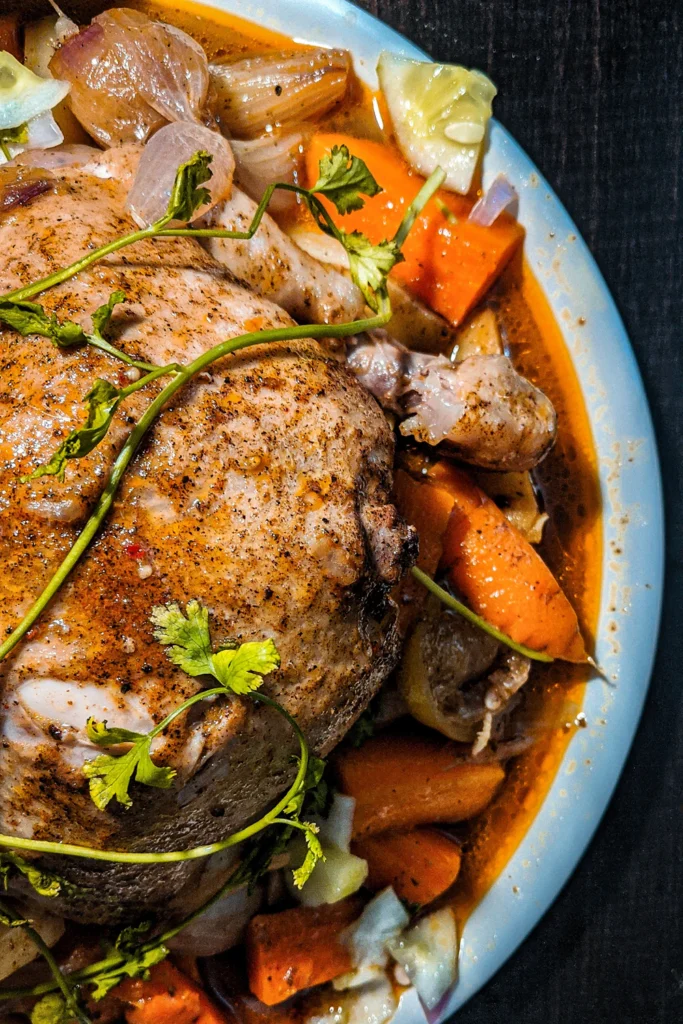
Key Takeaways
- Bone in, skin on chicken thighs are the right cut here; they stay moist through the roasting time in a way lean chicken breast can’t.
- Browning the chicken first isn’t optional flavor wise, it’s what builds the fond that becomes the base of the gravy.
- Keeping most of the browned skin above the gravy, rather than fully submerged, is what keeps it from turning completely soft while everything roasts.
- Chicken is safe once it reaches 165°F measured with a food thermometer in the thickest part of the thigh; color and juices aren’t reliable indicators on their own.
- Cut the potatoes and carrots into thick, similar sized pieces so they finish tender at roughly the same time as the chicken, without turning mushy.
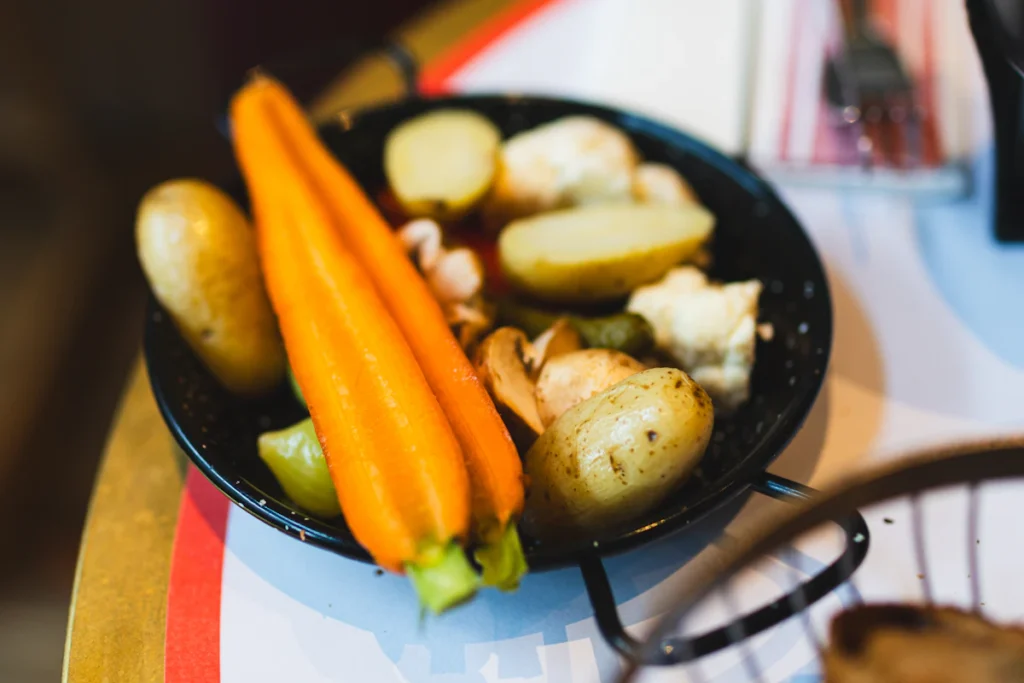
Chicken pot roast takes the comforting, low effort logic of a classic beef pot roast, brown it, add vegetables and broth, let the oven do the rest, and adapt it to chicken, which cooks in a fraction of the time. You still get that same one pot payoff: tender meat, vegetables that have soaked up all the savory flavor, and a rich gravy, just on a weeknight friendly timeline.
The two things worth understanding before you start: why bone in thighs (not breasts) are the right call, and how the skin up, mostly above the gravy positioning keeps everything from turning into a soggy mess. Both are covered below.
What You’ll Need
- Bone in, skin on chicken thighs dark meat that stays moist through the roasting time.
- Yukon Gold potatoes hold their shape better than a high starch potato like russet.
- Carrots
- Yellow onion and celery the aromatic base for the gravy.
- Garlic
- Tomato paste adds depth and a touch of color to the gravy.
- All purpose flour thickens the pan drippings into a real gravy.
- Low sodium chicken broth
- Worcestershire sauce
- Dried thyme, dried rosemary, and a bay leaf
- Salt, black pepper, and neutral cooking oil
- Fresh parsley for finishing.
A Little History Behind This Dish
Chicken pot roast is a lighter, faster spin on a much older tradition.Pot roast is traditionally a beef dish made by slow cooking a tougher cut of meat in moist heat, and the American version, often called Yankee pot roast, is typically served with vegetables like carrots, potatoes, and onions simmered right in the cooking liquid, according to Wikipedia’s entry on pot roast. The technique traces back to European braising methods brought over by immigrant cooks. Swapping in bone in chicken thighs keeps that same one pot, low effort spirit, browned protein, vegetables, and gravy from the same pot, while cutting the cooking time from hours down to under an hour in the oven.
Equipment That Makes This Easier
- A wide 6 quart Dutch oven, roomy enough to brown the chicken without crowding and to hold everything for roasting.
- Sturdy tongs, for turning and transferring the chicken without tearing the skin.
- A wooden spoon, for scraping up the browned bits without scratching an enameled pot.
- An instant read thermometer, the most reliable way to confirm the chicken is done.
Kitchen Tools That Make This Easier
- Enameled Dutch oven: for braising and simmering sauces.
- Instant read meat thermometer: so you know exactly when the meat is done.
- Chef knife: for quick, clean chopping.
- Cutting boards: for safe prep of meat and vegetables.
- Glass meal prep containers: for storing leftovers.
How to Make Chicken Pot Roast
Prep everything first. Preheat the oven to 375°F (190°C). Cut the potatoes into 1½ inch chunks and the carrots into 1½ to 2 inch pieces. Chop the onion, slice the celery, and mince the garlic. Pat the chicken thighs dry and season both sides with salt and pepper.
Brown the chicken. Heat oil in a wide Dutch oven over medium heat until it shimmers. Add the thighs skin side down, without crowding the pot, and cook for 5 to 7 minutes, until the skin is golden and releases easily. Turn and brown the other side for about 2 minutes. Transfer to a plate.
Cook the aromatics. With about 2 tablespoons of fat left in the pot, add the onion and celery, cooking 5 to 7 minutes until softened. Add the garlic and cook 30 to 60 seconds, just until fragrant.
Build the gravy. Stir in the tomato paste and cook for a minute. Sprinkle in the flour and stir for 1 to 2 minutes, until no dry patches remain. Gradually whisk in the broth, scraping up the browned bits from the bottom of the pot. Stir in the Worcestershire sauce, thyme, rosemary, and bay leaf, and bring to a gentle simmer for a couple of minutes.
Add vegetables and chicken. Stir the potatoes and carrots into the gravy, spreading them into an even layer. Nestle the chicken thighs on top, skin side up, keeping most of the skin above the liquid.
Roast. Transfer the uncovered pot to the oven and roast for 45 to 55 minutes, checking at the 45 minute mark. The vegetables should be tender when pierced with a knife, and every thigh should read at least 165°F (the safe minimum internal temperature) on an instant read thermometer.
Rest and finish. Move the chicken and vegetables to a serving dish and let rest, loosely covered, for 5 minutes. Discard the bay leaf. If the gravy is thin, simmer it briefly; if too thick, loosen with a splash of broth. Taste and adjust seasoning, then spoon the gravy over everything and finish with fresh parsley.
How Do I Know the Chicken Is Actually Safe to Eat?
This is worth taking seriously rather than guessing from color or how long it’s been in the oven. The USDA recommends cooking poultry to a safe minimum internal temperature of 165°F as measured with a food thermometer, checking the thickest part of the thigh without touching the bone, according to USDA FSIS guidance on doneness versus safety. Color and juices aren’t reliable on their own, chicken can look done and still not be safe, or look slightly pink at the bone and still be perfectly safe once it’s hit temperature. Always check each thigh individually, since smaller pieces can finish cooking before larger ones.
Common Chicken Pot Roast Problems
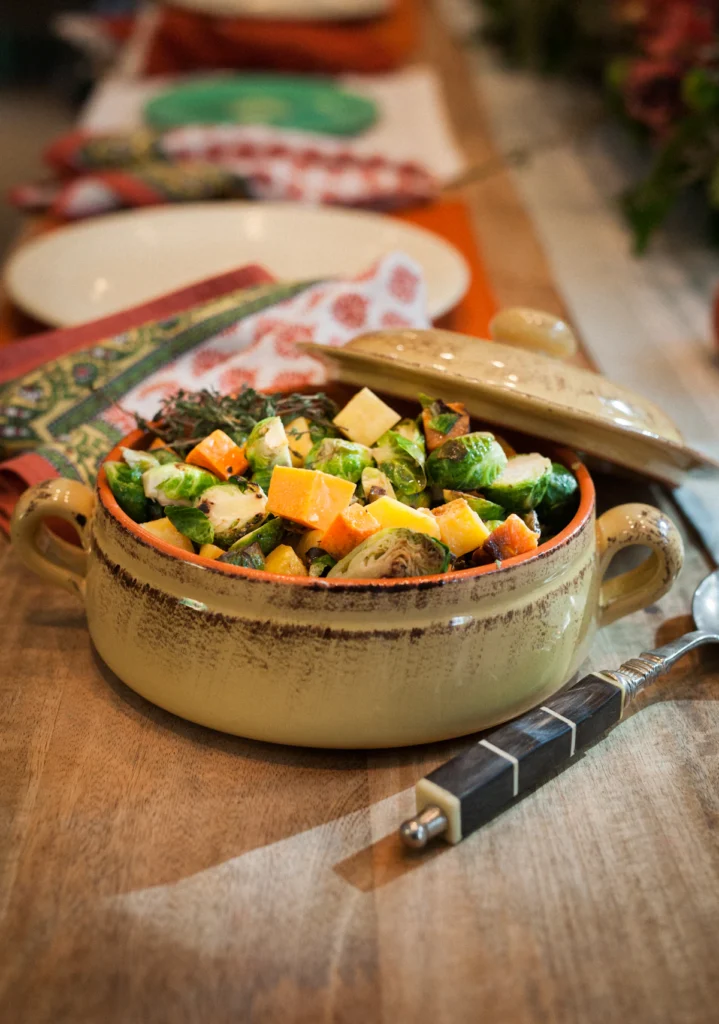
| Problem | Likely Cause | Fix |
| Chicken skin is pale, not golden | Chicken wasn’t dried well, or the oil wasn’t hot enough | Pat thighs thoroughly dry, heat oil until it shimmers, and brown in batches if needed |
| Chicken is dry | Overcooked, or smaller thighs weren’t removed early | Check each thigh individually with a thermometer; pull smaller pieces first |
| Potatoes are still hard | Pieces were cut too large, or need more time | Cover the pot and continue roasting the vegetables another 5 10 minutes |
| Gravy is watery | Too much broth, or extra liquid released during roasting | Remove the solids and simmer the gravy uncovered until it coats a spoon |
| Gravy is lumpy | Broth added too quickly, or flour not fully worked into the fat | Add broth gradually while stirring; whisk vigorously if lumps form |
| Chicken skin turned soft | Skin was submerged in the gravy, or the pot was covered | Keep skin mostly above the liquid and roast uncovered |
Can You Make This Ahead of Time?
Yes, with a few components prepped in stages.
- Vegetables: onion, celery, and carrots can be chopped a day ahead and refrigerated in a covered container.
- Potatoes: best cut close to cooking time, or keep them submerged in cold water in the fridge for up to a day to prevent browning; drain and dry well before using.
- Chicken: can be seasoned up to a day ahead and stored separately from the vegetables.
- The full dish: best browned and roasted fresh for the best skin texture, but the finished dish reheats well.
How to Store and Reheat Chicken Pot Roast
| Storage Method | How Long | Notes |
| Refrigerator, shallow airtight containers | 3 to 4 days | Refrigerate within 2 hours of cooking |
| Freezer, meal sized portions | 2 to 3 months | Best quality within this window; texture softens over time |
| Reheating | Stovetop or 325°F oven | Reheat gently to 165°F throughout; add a splash of broth if the gravy has thickened |
More Comforting Meals and Sides to Try
If you like bold, spiced chicken, my smoky tandoori chicken is a completely different but equally comforting weeknight option. For a fresh side to round out the table, my authentic Greek hummus pairs well with crusty bread alongside a pot roast dinner. And if you want something sweet to finish the meal, browse the rest of my dessert recipes or try my banana bread recipe for a cozy, no fuss ending.
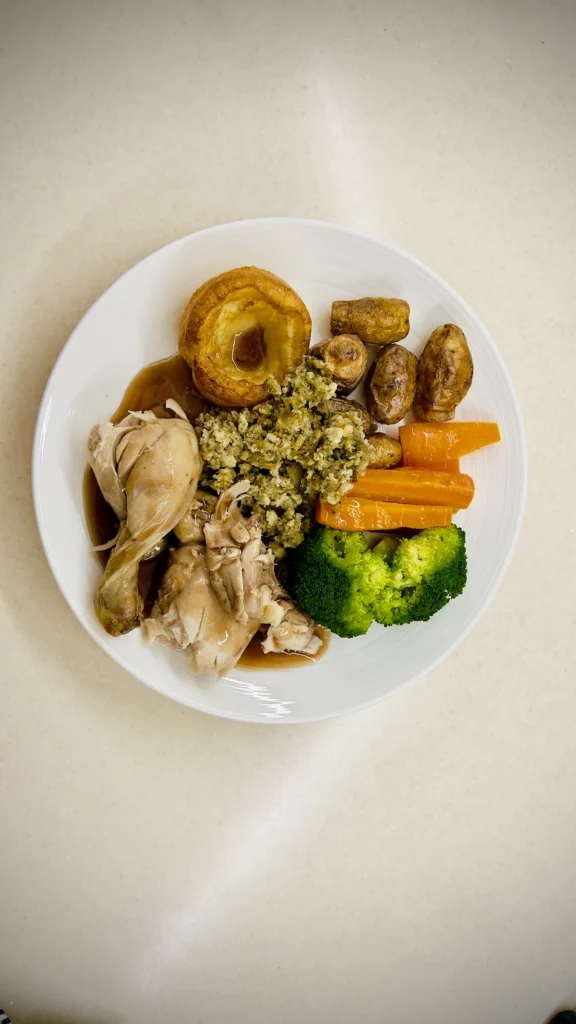
What to Serve With Chicken Pot Roast
This dish already brings chicken, vegetables, and gravy to the table, so it doesn’t need much alongside it. A few slices of crusty bread are great for soaking up the gravy. A simple green salad with a light vinaigrette adds a fresh contrast, and steamed green beans are a clean, easy side that won’t compete with the richness of the gravy.
Frequently Asked Questions
What cut of chicken is best for chicken pot roast?
Bone in, skin on chicken thighs are the recommended cut. Dark meat retains moisture better than lean chicken breast through the roasting time, and the skin adds flavor to the gravy as it browns.
Should you brown the chicken first?
Yes, definitely. Browning develops color and flavor in the skin and leaves golden bits on the bottom of the pot that become the base of the homemade gravy once broth is added.
Do potatoes go above or below the chicken?
Below. Spread most of the potatoes and carrots in the gravy first, then nestle the browned chicken thighs on top, skin side up, keeping most of the skin above the liquid so it doesn’t turn completely soft.
Should chicken pot roast be covered while roasting?
No, this version roasts uncovered so the skin doesn’t fully soften. If the chicken finishes before the vegetables are tender, remove the thighs and cover the pot to finish the potatoes and carrots.
Can I use chicken breasts instead of thighs?
It’s not recommended for this specific method. Lean chicken breast can dry out before the thick cut vegetables become tender, and it would need a shorter cooking time and different vegetable prep.
How do I thicken the gravy?
Cook the flour directly in the rendered chicken fat before adding broth, this is what prevents a raw flour taste. If the finished gravy is too thin, remove the solids and simmer it uncovered until it coats the back of a spoon.
More easy dinner ideas: chicken mushroom rice casserole, how long to boil a whole chicken and Chicken Provençal.
Conclusion
Chicken pot roast takes everything comforting about a classic pot roast and gets it to the table in under two hours: browned, deeply flavored chicken, tender vegetables, and a real homemade gravy, all from one pot. Get the thighs browned well and the skin mostly above the gravy, and this becomes one of the easiest weeknight dinners you’ll come back to again and again.
Chicken Pot Roast Recipe
Notes
- 6 bone in, skin on chicken thighs (about 3¼ lbs / 1.47kg total)
- 1¼ teaspoons fine sea salt, divided
- ¾ teaspoon black pepper, divided
- 1 tablespoon neutral cooking oil, plus more if needed
- 1½ lbs (680g) Yukon Gold potatoes, cut into 1½ inch pieces
- 1 lb (454g) carrots, cut into 1½ to 2 inch pieces
- 1 large yellow onion (about 8oz / 225g), chopped
- 2 large celery stalks, sliced
- 4 garlic cloves, minced
- 1 tablespoon tomato paste
- 3 tablespoons all purpose flour
- 2½ cups (590ml) low sodium chicken broth, plus up to ½ cup more for adjusting
- 1 teaspoon Worcestershire sauce
- 1 teaspoon dried thyme
- ½ teaspoon dried rosemary
- 1 bay leaf
- 2 tablespoons chopped fresh parsley
- Preheat oven to 375°F (190°C). Cut potatoes and carrots as noted above. Chop onion, slice celery, mince garlic. Pat chicken dry and season with 1 teaspoon salt and ½ teaspoon pepper.
- Heat oil in a wide 6 quart Dutch oven over medium heat until shimmering. Brown thighs skin side down, 5 to 7 minutes, then flip and brown the other side about 2 minutes. Transfer to a plate. Brown in batches if needed.
- Leave about 2 tablespoons of fat in the pot. Add onion and celery, cook 5 to 7 minutes. Add garlic, cook 30 to 60 seconds.
- Stir in tomato paste, cook 1 minute. Sprinkle in flour, stirring 1 to 2 minutes until no dry patches remain.
- Gradually whisk in the broth, scraping up browned bits. Stir in Worcestershire sauce, thyme, rosemary, bay leaf, and remaining salt and pepper. Simmer 2 to 3 minutes.
- Stir in potatoes and carrots, spreading evenly. Nestle chicken thighs on top, skin side up.
- Roast uncovered 45 to 55 minutes, checking at 45 minutes. Vegetables should be tender; every thigh should read at least 165°F.
- Rest chicken and vegetables on a serving dish, loosely covered, 5 minutes. Discard bay leaf, adjust gravy consistency and seasoning, and finish with parsley.